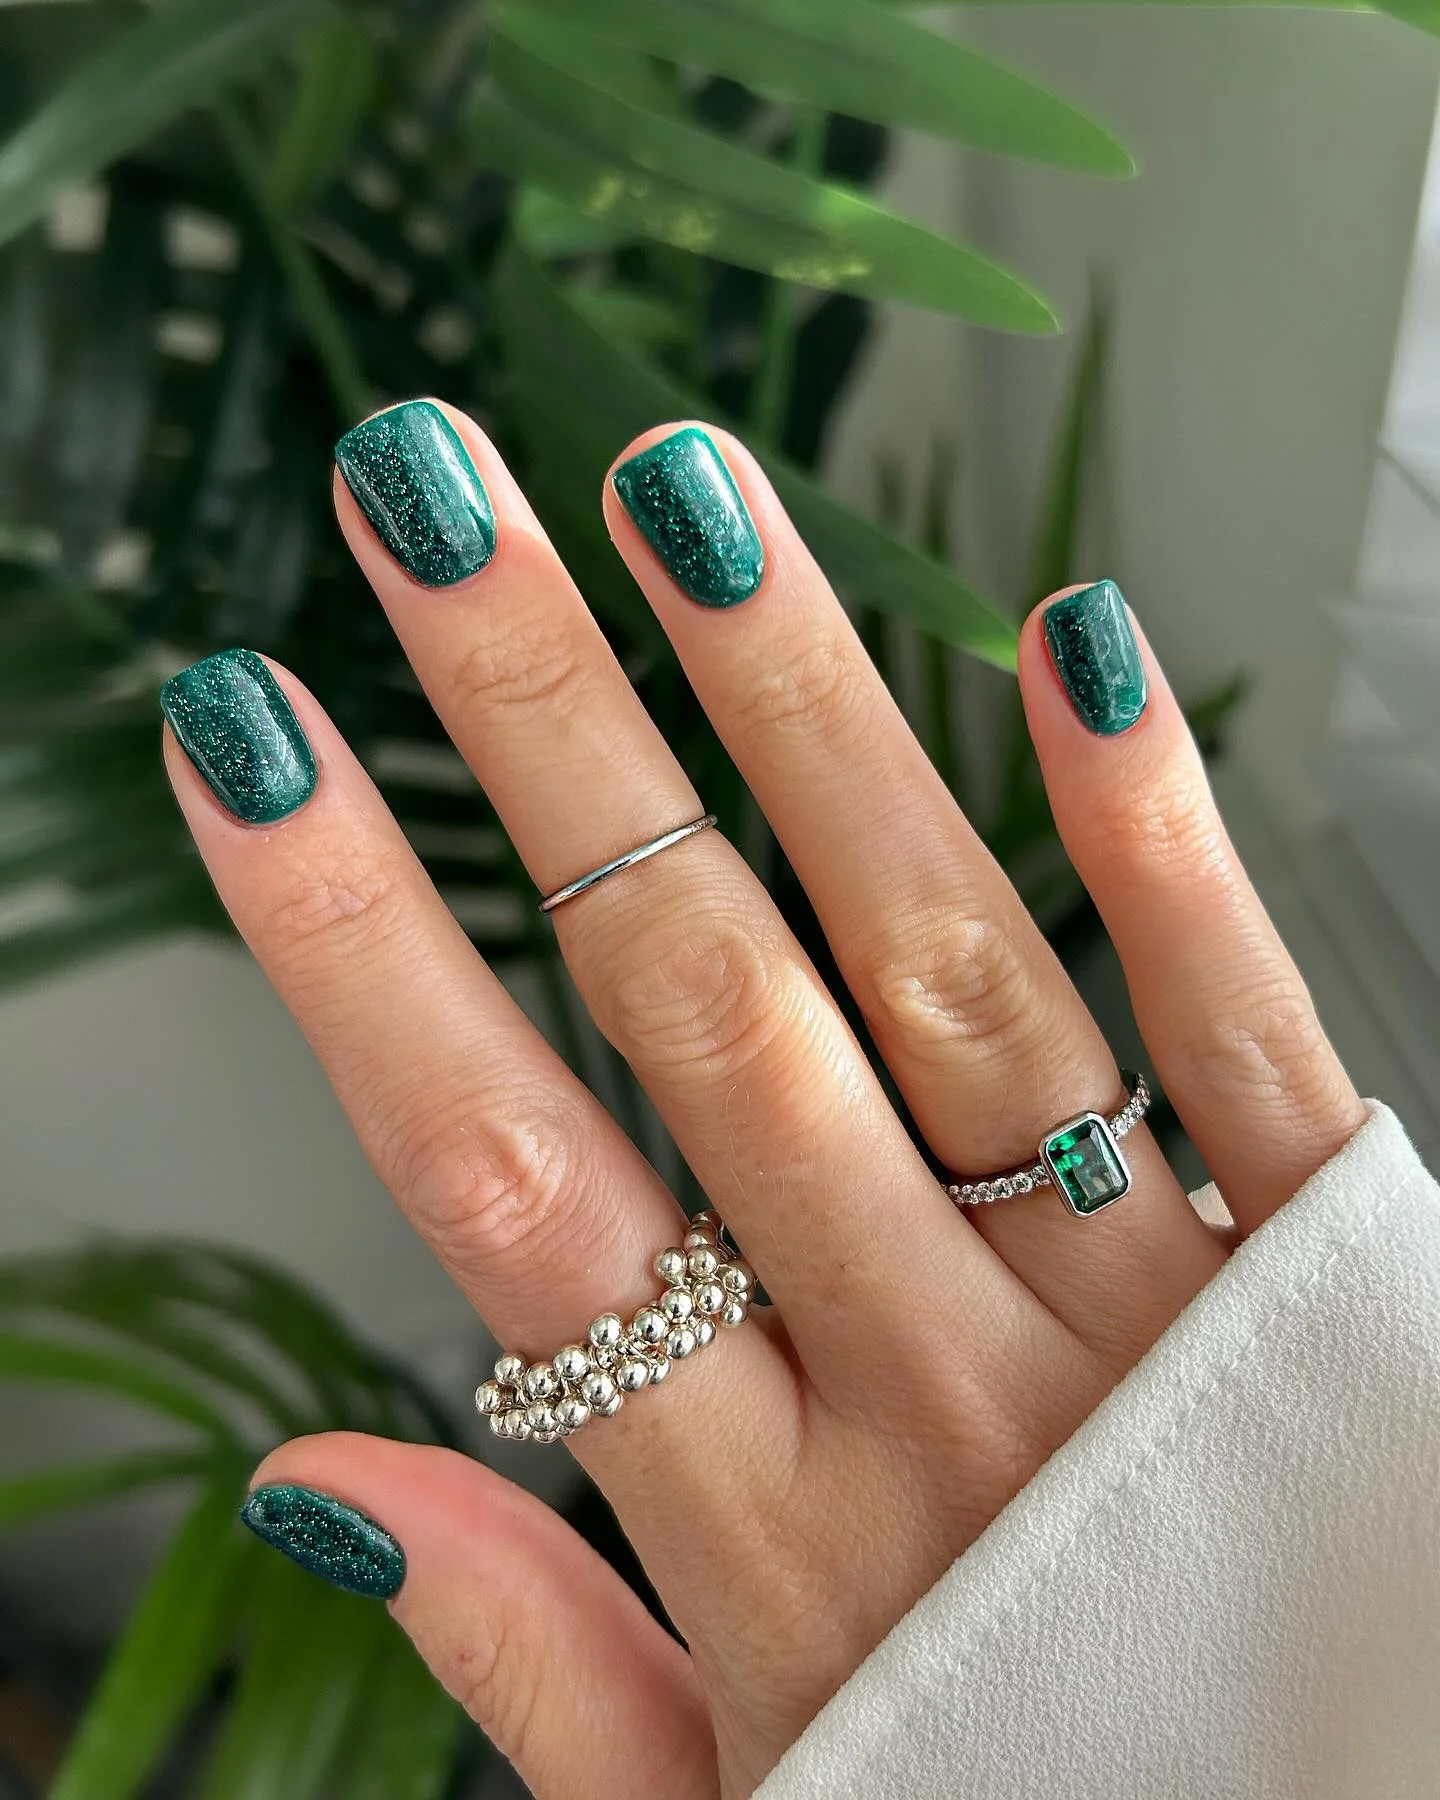
18 Winter Long Nail Designs That Steal the Spotlight
Why settle for boring nails when winter practically begs for drama? Long nails are the ultimate canvas for snowflakes, sparkles, and all the icy glam your hot cocoa hands deserve.
Think of them as jewelry you don’t have to take off. Ready to turn your fingertips into tiny show-stoppers? These 18 winter long nail designs aren’t just pretty, they’ll have people staring at your hands like you’re hiding secrets.
#1. Icy V-Tip Snowflake Nail Blizzard

Frosty blue takes center stage with sharp V tips, sugar-textured sides, and hand-drawn snowflakes. Sheer swirls peek through like winter wind on glass. The sweater-knit accent brings cozy contrast to the cool glitter.
How To Create This Design
- Prep, dehydrate, base coat.
- Apply sheer nude gel; cure.
- Map V tips with pastel blue gel; fill and cure.
- For “sugar” nails, sprinkle fine acrylic or glitter over wet blue and cure.
- Paint white snowflakes and skinny outlines with a liner brush; cure.
- Glossy top on smooth nails; leave sugar nails un-topped.
Pro Tip: For crisp V’s, place two guide strips and fill the gap—pull them off before curing.
#2. Black Tie Nail Luxe With Gold Foil

Nothing reads editor-level glam like mirror-black coffins paired with clear accents flecked in gold. The contrast is simple, expensive, and photo-ready—think evening gown for your hands.
How To Create This Design
- Base coat; cure.
- Two coats jet-black gel on four nails; cure between coats.
- On accent nails, apply sheer builder, place gold foil with tweezers, and encapsulate with builder gel; cure.
- Finish with a high-shine no-wipe top.
Pro Tip: Wipe black nails with alcohol before top coat—dust shows on black like a spotlight.
#3. Crystal Cascade Nail Drama

Pale grey tips transform into glam chandeliers with AB crystals, caviar beads, and sculpted florals. Every movement throws light—perfect for parties when “subtle” isn’t the goal.
How To Create This Design
- Base coat; cure. Apply soft grey or milky white gel; cure.
- Use rhinestone gel to set mixed-size crystals down the center; flash cure.
- Add caviar beads to frame stones.
- Sculpt tiny white acrylic/gel flowers on two nails; cure.
- Seal carefully around stones with top coat.
Pro Tip: Balance heavy clusters on opposite hands to keep weight—and break risk—even.
#4. Snow-White Glassy Coffin Nail Classic

Pure white, high-gloss, and unapologetically long—clean minimalism that still turns heads. It’s the winter equivalent of a crisp white coat.
How To Create This Design
- Base coat; cure.
- Two to three thin coats of opaque white gel; cure each layer.
- Float a thicker no-wipe top coat to eliminate brush lines; cure.
Pro Tip: Cap the free edge with every coat to prevent tip wear on bright white.
#5. Frosty Motif Mix Nail Set

Stripes, flakes, and sugar sparkle in icy blue and white create a playful patchwork of winter prints. The varied finishes keep the long shape lively instead of heavy.
How To Create This Design
- Base coat; cure.
- Alternate nails in baby blue, white, and sheer nude.
- Stamp or hand-paint snowflakes and stripes with white gel.
- For sugar texture, pour fine glitter over wet polish; cure.
- Top coat the smooth nails; skip top on sugar nails.
Pro Tip: Repeat one motif twice to tie the mix together and avoid visual clutter.
#6. Winter Plaid and Hearts Nail Medley

Silver glitter, cozy plaid lines, and raised hearts team up for a chic black-and-white moment. The mix feels custom—like your favorite scarf, but shinier.
How To Create This Design
- Base coat; cure.
- Paint two nails solid silver glitter gel; cure.
- On neutrals, draw thin black plaid lines with a striping brush; cure.
- Pipe 3D white hearts using thick art gel or acrylic; cure.
- Encapsulate foil pieces on one nail with builder gel; top coat all.
Pro Tip: Matte the plaid nail and keep others glossy—texture contrast = instant luxe.
#7. Sweetheart Flame Nail Pop
Cherry hearts, pink flames, and a cheeky cherry stem give flirty energy with a Valentine-meets-winter twist. Long squares make the art read bold and graphic.
How To Create This Design
- Base coat; cure. Apply sheer pink nude; cure.
- Paint red hearts and flames with gel paint and a fine liner.
- Add green stems/leaves for the cherries; cure.
- Seal with glossy top; cure.
Pro Tip: Use gel paint (not regular gel polish) for razor-sharp flames and zero bleeding.
#8. Enchanted Forest Reindeer Nail Story

Cat-eye green glows like pine at night, while mauve accents carry a white reindeer, snowflake dots, and a candy-cane stripe. It’s a tiny winter tale across ten tips.
How To Create This Design
- Base coat; cure.
- Apply green magnetic gel; hover magnet at a diagonal for the cat-eye line; cure.
- Paint mauve on accent nails; cure.
- Add white reindeer and snowflake with a liner brush; place small crystals; cure.
- Finish with glossy top.
Pro Tip: Lock the cat-eye pattern by curing immediately after you like the light streak.
#9. Ice Queen Chrome Gem Nail Couture

Teal chrome panels, rope-gel framing, jeweled bows, and tiny snowflakes—pure runway fantasy. Negative space near the cuticle keeps the look wearable while the gems do the talking.
How To Create This Design
- Base coat; cure. Paint teal gel; cure; rub teal chrome over no-wipe top.
- Outline shapes with thick sculpting/rope gel; cure.
- Apply rhinestone gel and set large crystals and bow charms; flash cure.
- Add stamped or hand-painted snowflakes; full cure; top around gems.
Pro Tip: Sandwich big charms—thin builder layer under and a tiny bead at the edges—to survive party season.
#10. Cozy Arctic Character Nail Art

Plaid tips, cable-knit ribbons, mittens, and the cutest bundled-up bear—this set feels like hot cocoa and cartoons. Matte nudes let the bright blues and white snow pop.
How To Create This Design
- Base coat; cure. Apply matte nude gel; cure.
- Paint blue French panels and plaid lines with a liner brush; cure.
- Pipe a 3D knit stripe with thick white gel; cure.
- Sketch the bear and mittens in pale blue, outline in deeper blue, add white highlights; cure.
- Finish with selective matte/gloss top for contrast.
Pro Tip: Lightly sketch character shapes in diluted white first—clean outlines are easier when the map is set.
#11. Sculpted Nude Flame Nail Art

Soft nude nails get an edgy twist with 3D sculpted flames hugging the tips. The glossy pink center balances the bold carved edges, making this design chic yet daring. It’s the kind of manicure that turns a neutral palette into a statement.
How To Create This Design
- Apply nude base coat; cure.
- Paint sheer pink in the center; cure.
- Use thick builder gel to sculpt flame ridges; cure.
- Smooth with top coat for contrast between glossy and raised textures.
Pro Tip: Work one nail at a time when sculpting to keep the flame ridges sharp.
#12. Romantic Blush and White Nail Blend

A dreamy mix of blush pink fades, white panels, rhinestone accents, and tiny hearts creates a romantic winter vibe. Long square nails give plenty of space for playful details without looking crowded.
How To Create This Design
- Apply sheer pink base; cure.
- Blend deep red ombré at tips with a sponge; cure.
- Add white panels on select nails; cure.
- Place rhinestones and 3D hearts with rhinestone gel; cure.
- Seal with glossy top.
Pro Tip: Place rhinestones close to the cuticle line to elongate the look of the nails.
#13. Playful Strawberry Heart Nail Design

Strawberry art, pearl-framed hearts, and bold red-pink panels combine into a flirty, fun set. The playful fruit detail keeps it sweet, while the long length adds drama.
How To Create This Design
- Apply sheer nude base; cure.
- Use red and pink gel for French panels; cure.
- Hand-paint strawberries with red, green, and yellow gel; cure.
- Add pearl beads to form a 3D heart accent; cure.
- Top with no-wipe glossy gel.
Pro Tip: Outline strawberries with a thin white line to make them pop against red polish.
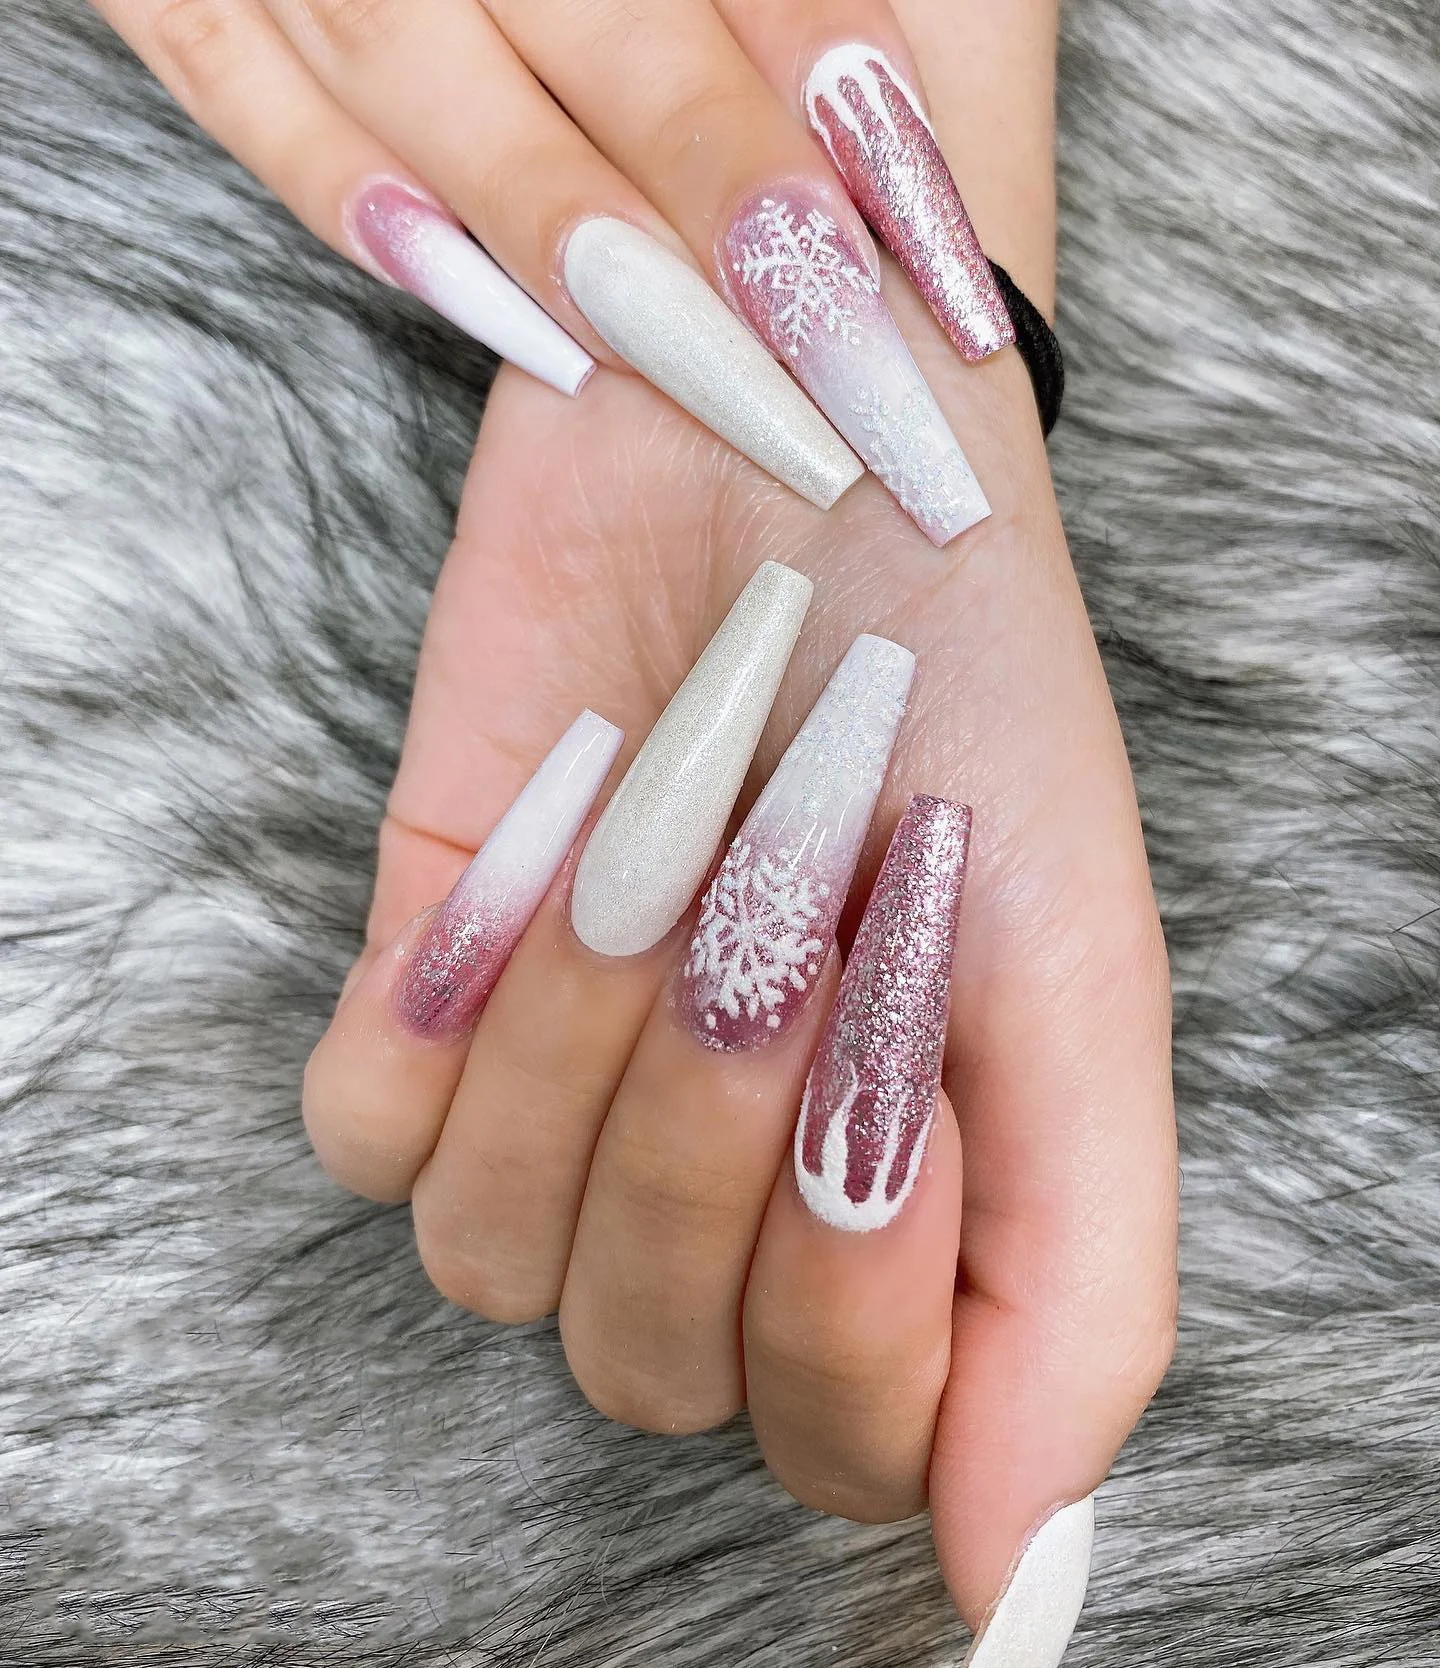
#14. Snowflake Gift Wrap Nail Elegance

White snowflakes and icy blue tips feel festive and polished, while 3D bows add the perfect holiday gift effect. A frosted, glossy finish makes them sparkle like fresh snow.
How To Create This Design
- Apply sheer pink base; cure.
- Paint blue French tips; cure.
- Stamp or hand-draw snowflakes with white gel; cure.
- Sculpt 3D bows using builder gel or acrylic; cure fully.
- Seal with glossy top.
Pro Tip: Keep bow accents on just one or two nails to avoid snagging.
#15. Bold Blue Gradient Nail Mix

An ombré base blends into vivid blue with dotted accents, glitter, and gemstone lines. Each nail carries a slightly different design, but together they create a cohesive winter-cool vibe.
How To Create This Design
- Apply nude-to-blue ombré with a sponge; cure.
- Add polka dots with a dotting tool in varying sizes; cure.
- Coat one nail with chunky blue glitter polish; cure.
- Use rhinestone gel to set a gemstone line on one accent nail.
- Top coat to seal.
Pro Tip: Vary dot sizes randomly—it looks more playful than uniform patterns.
#16. Rose Gold Snowflake Nail Glow

Shimmery rose and frosty white gradients with glitter overlays give a glowing winter feel. Snowflakes and icicle-like drip accents add a magical seasonal charm.
How To Create This Design
- Apply sheer nude base; cure.
- Blend rose-pink glitter gradient from the tip down; cure.
- Paint snowflakes and drip patterns with white gel; cure.
- Apply a shimmery pearl coat on selected nails.
- Finish with glossy top.
Pro Tip: Add holographic glitter to the snowflakes for a twinkle effect under lights.
#17. Hot Pink Crystal Stiletto Nail Drama

Long stilettos in pink and coral shine with rhinestones, floral details, and wavy designs. This set screams bold confidence and makes every gesture unmissable.
How To Create This Design
Apply sheer nude base; cure.
Paint alternating pink and coral stiletto tips; cure.
Add wavy gel details with glitter pink gel polish.
Place rhinestones and sculpt tiny floral decals with builder gel.
Seal with glossy top coat.
Pro Tip: Use tweezers dipped in top coat to easily place tiny rhinestones and flowers.
#18. Festive Candy Cane Nail Delight

Classic red meets candy-cane stripes, glitter, bows, and snowflakes for a full holiday celebration on your fingertips. It’s cheerful, sparkly, and impossible to ignore.
How To Create This Design
- Apply sheer nude base coat; cure.
- Paint solid red nails and one glitter nail; cure.
- Add white snowflakes and candy-cane stripes with gel paint; cure.
- Sculpt or place 3D bows on accent nails; cure.
- Seal with glossy top coat.
Pro Tip: Use striping tape for cleaner candy-cane lines if freehand feels tricky.
Conclusion:
Winter may fade, but bold nail art leaves its mark long after the snow melts. From sparkling gems to frosty blues, these long designs prove your hands can be as much a statement piece as your coat or boots.
So go ahead, wrap your fingers in glitter, snowflakes, or even candy-cane stripes. After all, if the spotlight’s up for grabs this season, why shouldn’t your nails take it?

Olivia Tran is the founder and creative force behind TheNailDesigns.