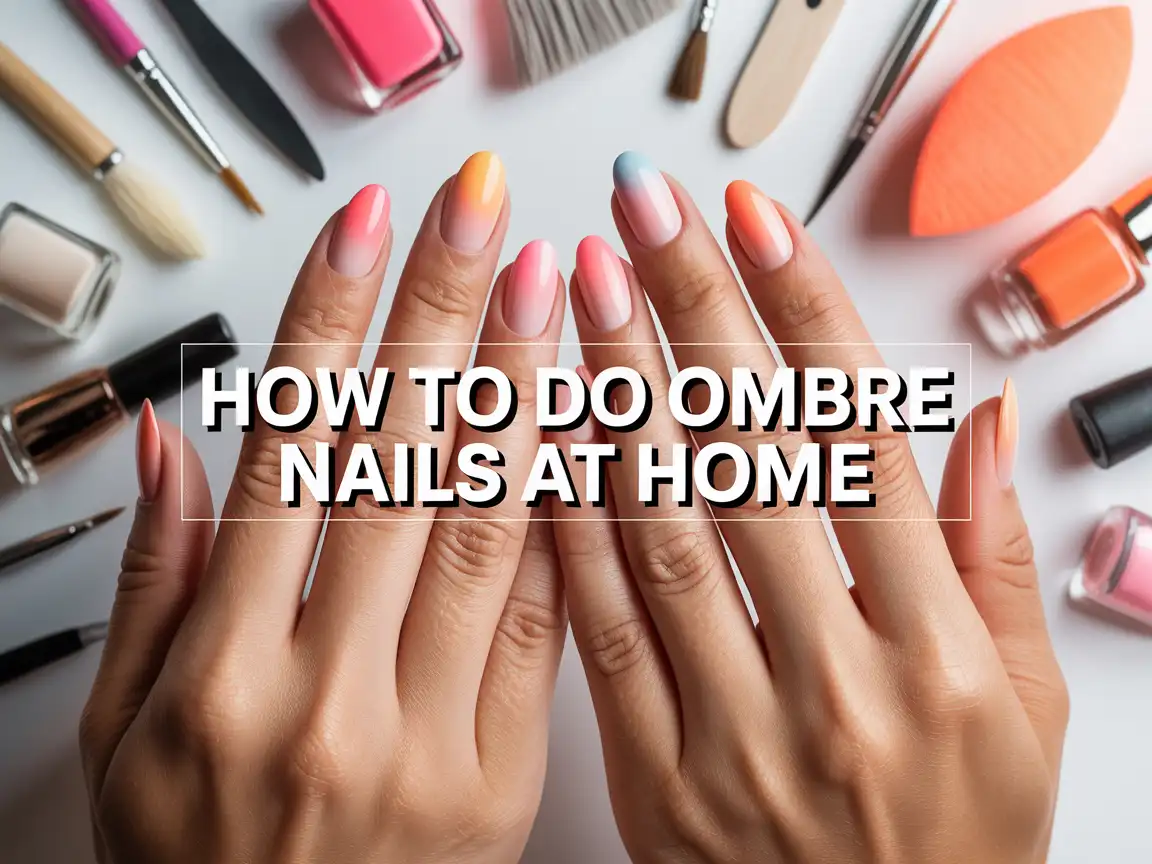
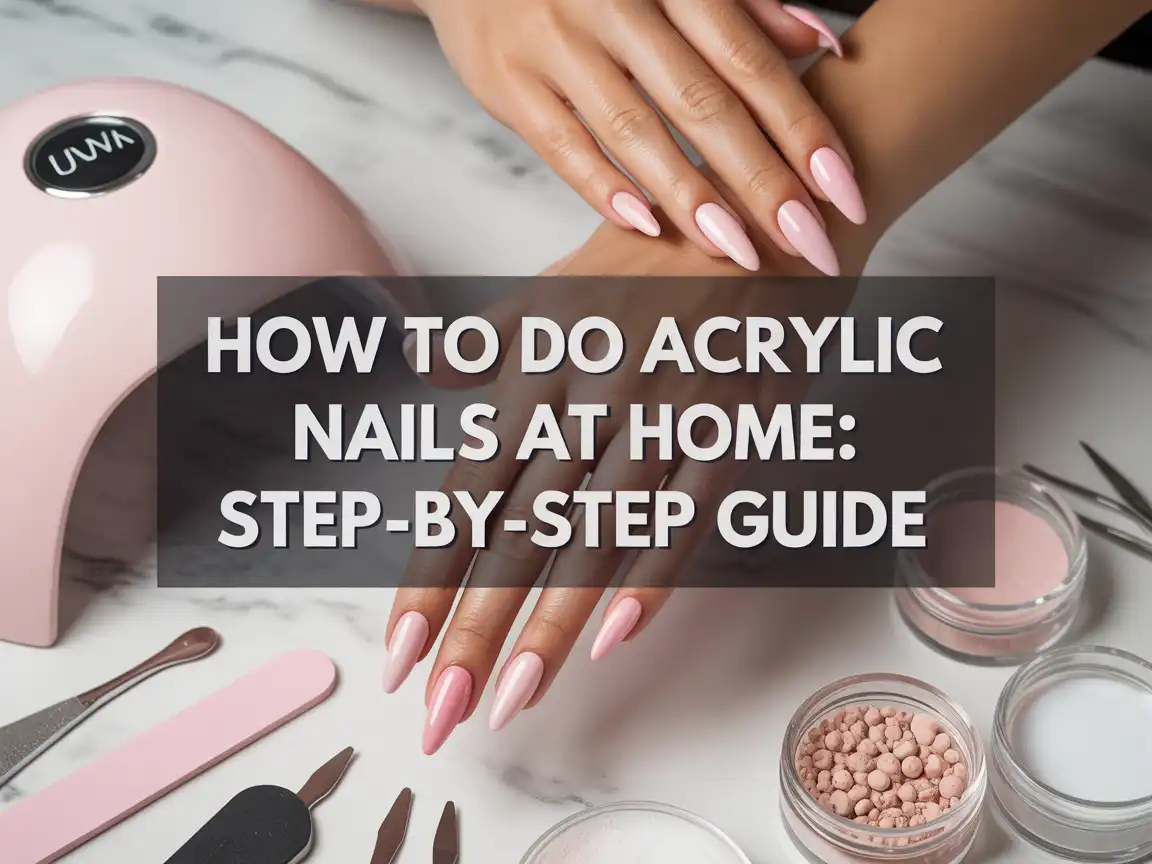
how to do acrylic nails at home: Step-by-step Guide
You want salon-looking acrylics… without paying salon prices, without leaving your house, and without accidentally gluing your fingers together like a low-budget science experiment. I get it. I’ve done DIY acrylic nails at home enough times to learn what works, what absolutely doesn’t, and what makes you stare at your hands like, “Why did I think I could freestyle this?”
But here’s the good news: you can do acrylic nails at home and make them look clean, smooth, and legit. You just need the right tools, a simple plan, and a tiny bit of patience (ugh, I know).
What acrylic nails actually are (so you don’t panic mid-application)
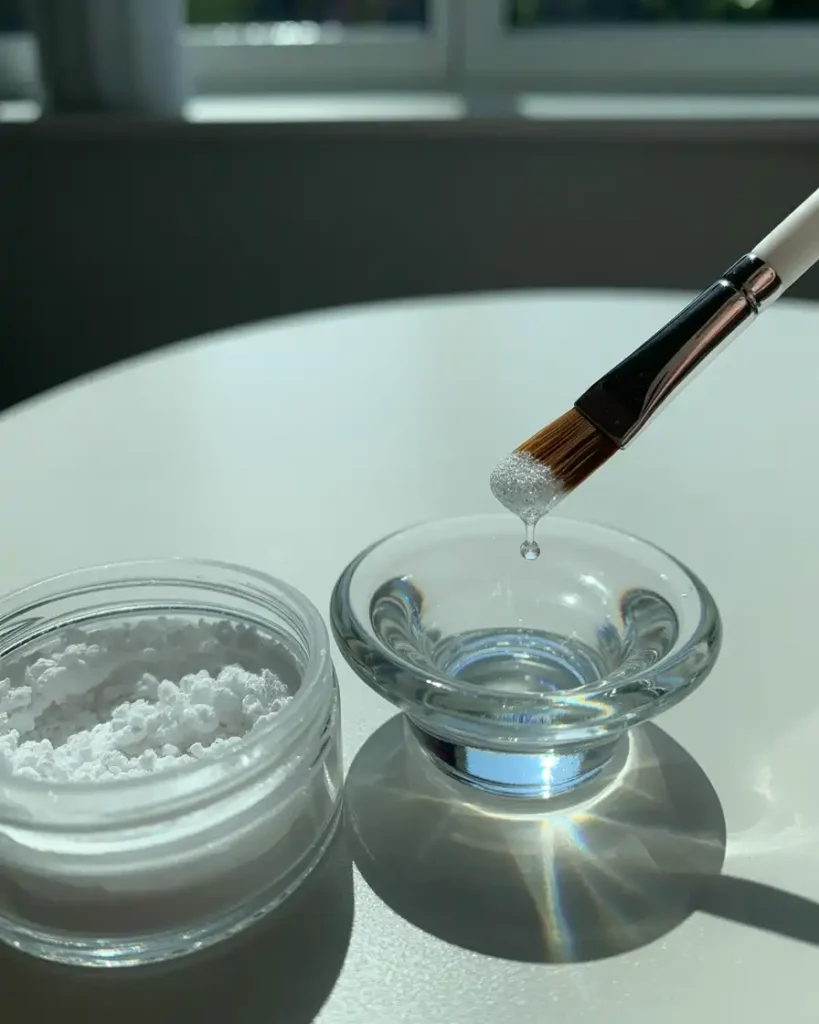
Acrylic nails use a liquid (monomer) + a powder (polymer) that combine into a workable bead. You place that bead on your nail, shape it, and let it harden into a strong layer.
It feels like magic the first time you see it set, right? Ever wondered why acrylic hardens so fast? The monomer activates the powder, and the chemical reaction locks it in place.
Acrylics give you:
- Strength (goodbye flimsy nails)
- Length (hello, “I’m suddenly a hand model” energy)
- Shape control (coffin, almond, square, pick your vibe)
What you need to do acrylic nails at home
You don’t need a 300-piece pro kit. You need the basics that actually matter.
Must have supplies
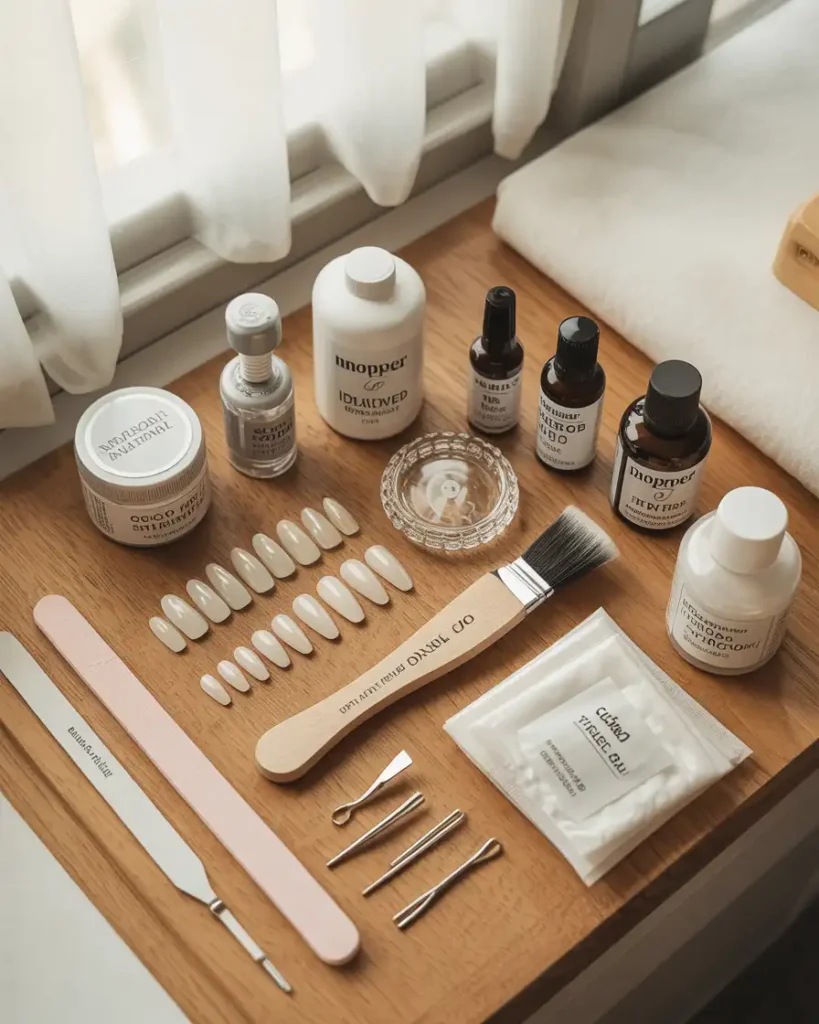
Grab these before you start:
- Acrylic powder
- Monomer liquid
- Acrylic brush (size 8–10 works well)
- Dappen dish (for monomer)
- Nail tips + tip glue (if you want length)
- Nail dehydrator and primer (these prevent lifting, yes, you need them)
- Nail file (100/180 grit) and buffer
- Cuticle pusher
- Lint free wipes
- Isopropyl alcohol
- Top coat (gel or regular)
Optional but super helpful:
- Practice hand (if you want to learn without ruining your own nails)
- E-file (use carefully; it saves time but punishes chaos)
- Nail forms (if you skip tips)
FYI: Don’t skip primer and dehydrator if you want acrylics that last more than a couple days. I learned that the hard way.
Prep like a pro (this is where the long wear happens)
If your acrylic nails lift or pop off, prep usually caused it. Prep feels boring, but it makes everything else easier.
Step-by-step nail prep
- Wash your hands and dry them well.
- Push back cuticles gently.
- Remove shine from your natural nails with a buffer.
- Shape your natural nail edge and keep it neat.
- Dust off the nail surface completely.
- Wipe with alcohol using a lint-free wipe.
- Apply dehydrator, then primer.
Key prep rule: Never leave dust or oils on the nail. Acrylic hates that. Acrylic holds grudges.
Step-by-step: how to do acrylic nails at home
Alright, this is the main event. Take it slow. You don’t need speed, you need control.
Step 1: Apply nail tips (if you want added length)
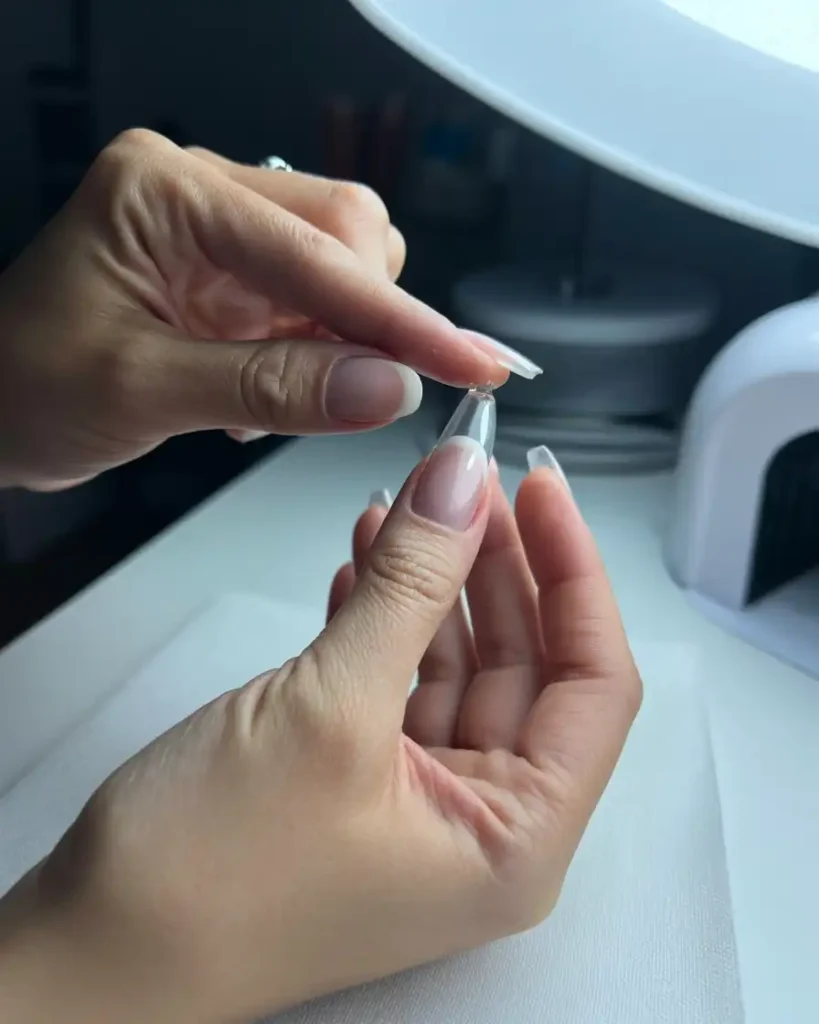
Choose tips that fit sidewall to sidewall without squeezing your nail.
- Add a small amount of glue to the tip
- Press it on and hold for 10–15 seconds
- Clip the length if needed
- File the seam where the tip meets your natural nail
Don’t drown the tip in glue. Glue floods look messy and feel worse.
Step 2: Set up your acrylic station
Pour monomer into your dappen dish. Keep powder open and close enough to reach easily.
You want a clean flow:
- Dip brush in monomer
- Wipe excess on dish edge
- Touch powder to form a bead
- Place bead on nail
This rhythm matters. Ever tried doing this while reaching across the table like a confused raccoon? Yeah… don’t.
Step 3: Make the perfect acrylic bead
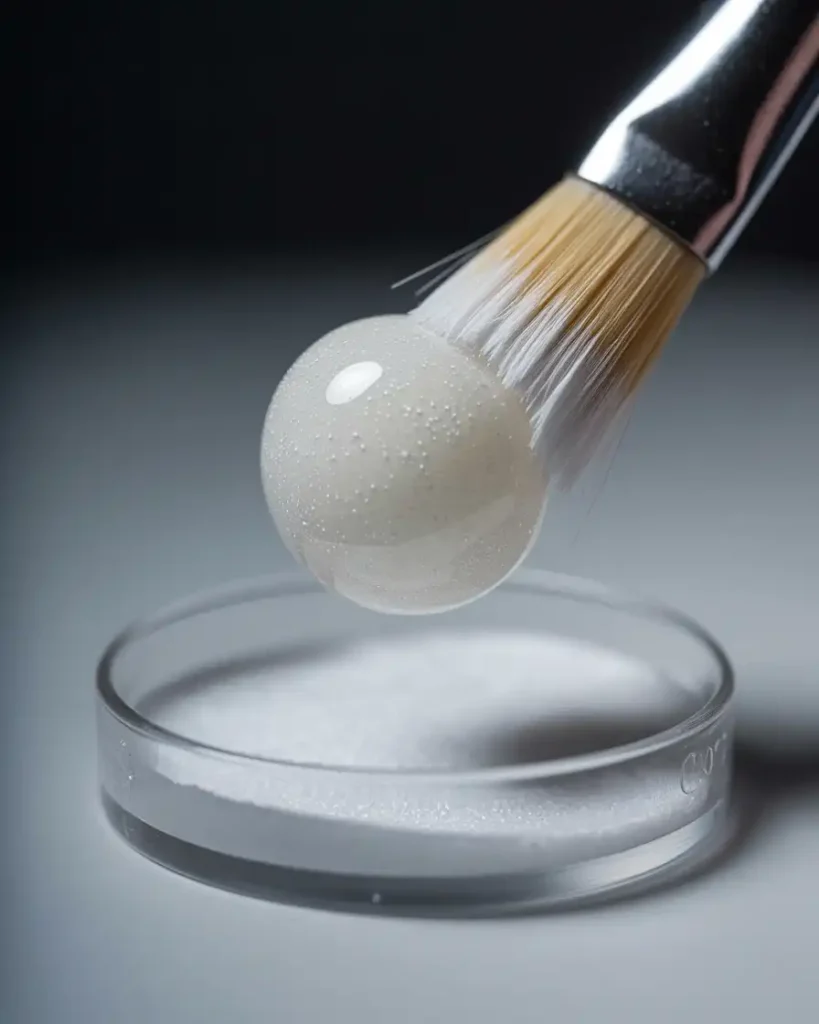
A good bead looks smooth and slightly glossy, not dripping.
If the bead runs like soup:
- You used too much monomer
If the bead looks dry and crumbly:
- You used too much powder
Aim for “soft dough” texture. IMO, this single skill decides whether your nails look professional or tragic.
Step 4: Apply acrylic in three zones

Work in sections so you don’t overload the nail.
Zone method:
- Near the cuticle (but not on it)
- Middle of the nail
- Free edge / tip
Place the bead, then use the brush belly to gently press and guide it. Keep your brush clean and slightly wet.
Big rule: Keep acrylic off your skin and cuticles. Acrylic on skin causes lifting and irritation, and it also looks… messy.
Step 5: Build the apex (so your nails don’t snap)
The apex is the slightly thicker area around the nail’s stress zone. It supports the nail.
You want:
- Thinner near cuticle
- Slightly thicker in the middle (apex)
- Thinner again at the tip
If you skip the apex, nails break fast. If you overdo the apex, nails look bulky. Yes, acrylic likes drama.
Step 6: Let it cure fully (don’t rush this part)
Acrylic air-dries, but it still needs time to harden.
You can tap lightly with your file handle:
- A solid “click” sound means it cured
- A dull sound means it needs more time
Ever filed acrylic too early and watched it gum up your file? Painful. Don’t do it.
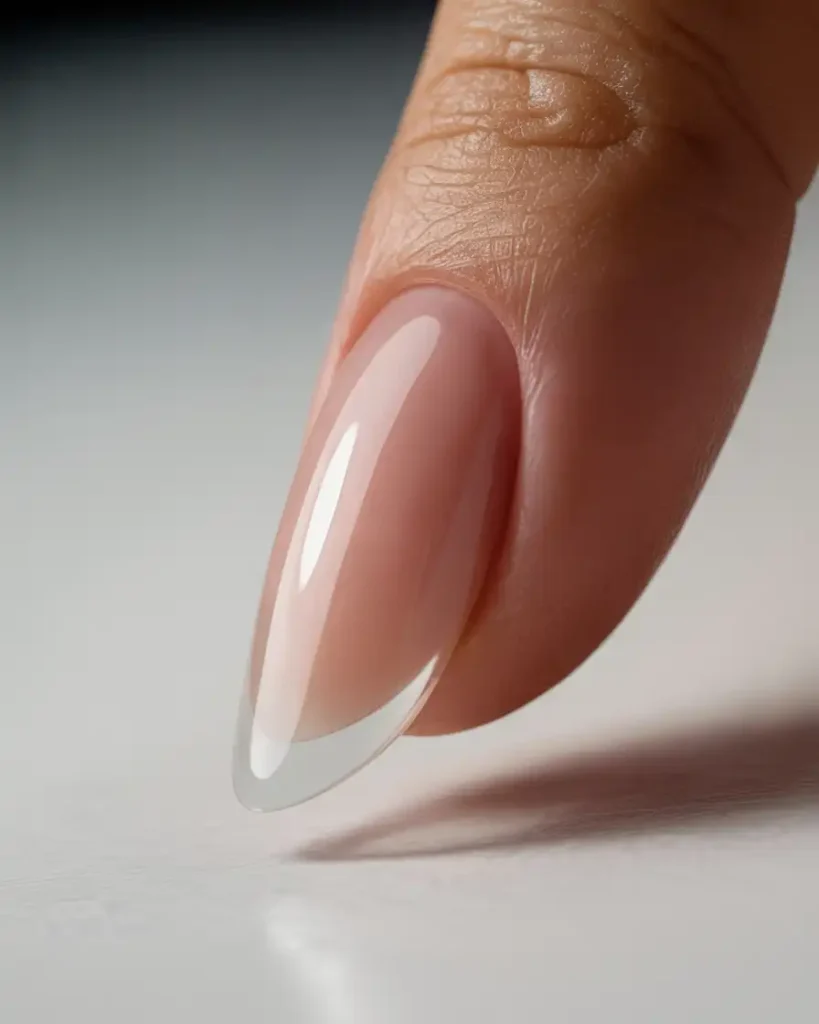
Shaping and filing: where your nails start looking expensive
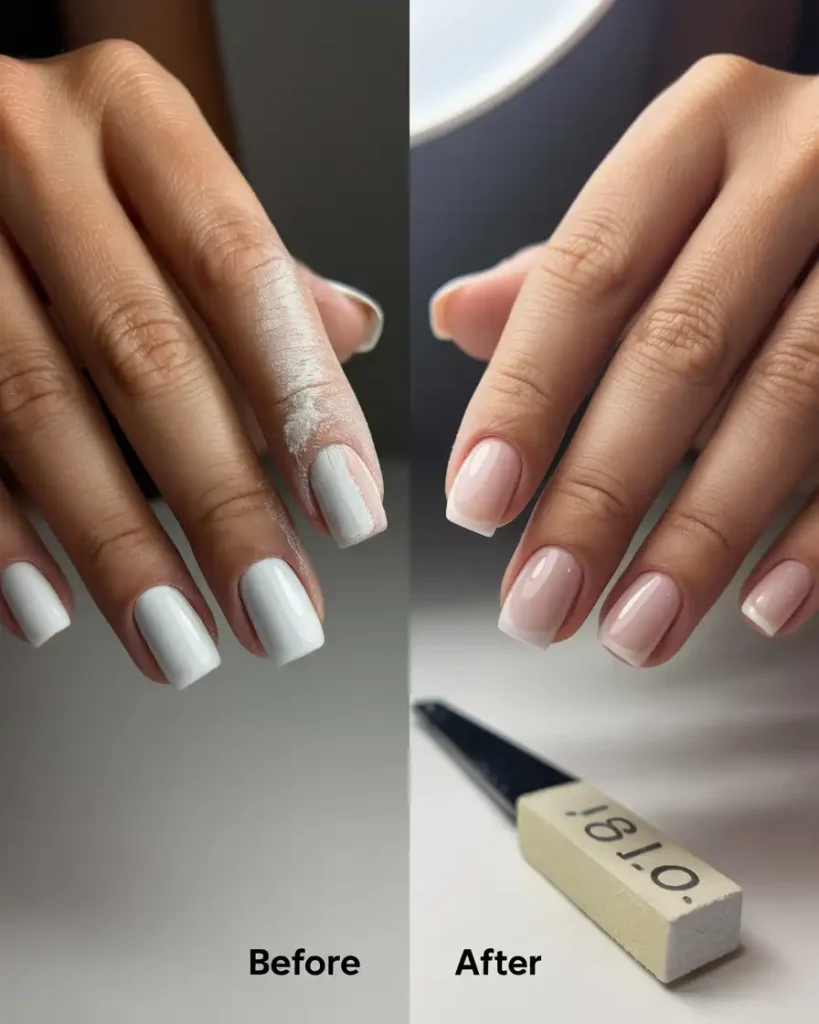
Shaping turns “I tried” nails into “wow” nails.
Step-by-step shaping
- File sidewalls to clean the shape
- Shape the free edge (square/coffin/almond)
- Smooth the surface with a file, then buffer
- Refine around the cuticle area carefully
Use a light hand near the cuticle. You don’t want to file your natural nail. Your nail plate doesn’t deserve that kind of violence.
Quick shaping tips
- Keep your file straight for square
- Taper sidewalls for coffin
- Round and elongate for almond
If one nail looks different, file it gently until it matches. I always end up with “the odd nail” at least once, and I refuse to accept it.
Finishing touches: top coat, shine, and that “fresh set” look
Now you seal everything and make it look glossy.
If you use regular top coat
- Apply a thin layer
- Let it dry fully
- Apply a second layer if needed
If you use gel top coat
- Apply gel top coat
- Cure under UV/LED lamp
- Wipe sticky layer if your top coat needs it
Top coat matters. It protects your acrylic nails, locks in shine, and makes the set look polished.
Common acrylic nail mistakes (and how to fix them fast)
DIY acrylic nails at home can go wrong in predictable ways. The good news? You can fix almost all of them.
Acrylic lifting near the cuticle
You likely:
- Skipped dehydrator/primer
- Touched cuticles with acrylic
- Left dust or oils behind
Fix it:
- File lifted area gently
- Re-prep the nail
- Patch with a small bead
Lumpy, uneven acrylic
You likely:
- Used inconsistent bead sizes
- Didn’t control the brush
Fix it:
- File and smooth the surface
- Focus on smaller beads next time
Acrylic feels too thick
You likely:
- Placed too much product at once
Fix it:
- File down bulk carefully
- Rebuild apex only if needed
Acrylic nails pop off
You likely:
- Didn’t rough up the nail surface enough
- Used cheap primer or skipped it
Fix it:
- Improve prep
- Use a reliable primer and dehydrator
- Avoid washing hands right before application
Acrylic vs gel vs press-ons: quick real-talk comparison
You might wonder if acrylic nails at home even make sense compared to other options. Fair question.
Acrylic nails
- Strongest option
- Best for length and structure
- Requires practice and filing
Gel extensions
- Look thinner and more natural
- Need a lamp
- Still require solid prep
Press-on nails
- Fast and easy
- Great for short-term wear
- Can pop off when you least need drama
If you want long wear and durability, acrylic wins. If you want easy, press-ons take the crown.
How to make your at-home acrylic nails last longer
You don’t do all this work just to watch a nail lift while you open a soda, right?
Try these:
- Wear gloves for dishes and cleaning
- Use cuticle oil daily
- Avoid using nails as tools (yes, I know it’s tempting)
- Fill or fix lifting early
- Don’t pick at edges
Want a realistic expectation? With good prep and care, you can get 2–3 weeks from acrylic nails at home.
Safe removal at home (please don’t rip them off)
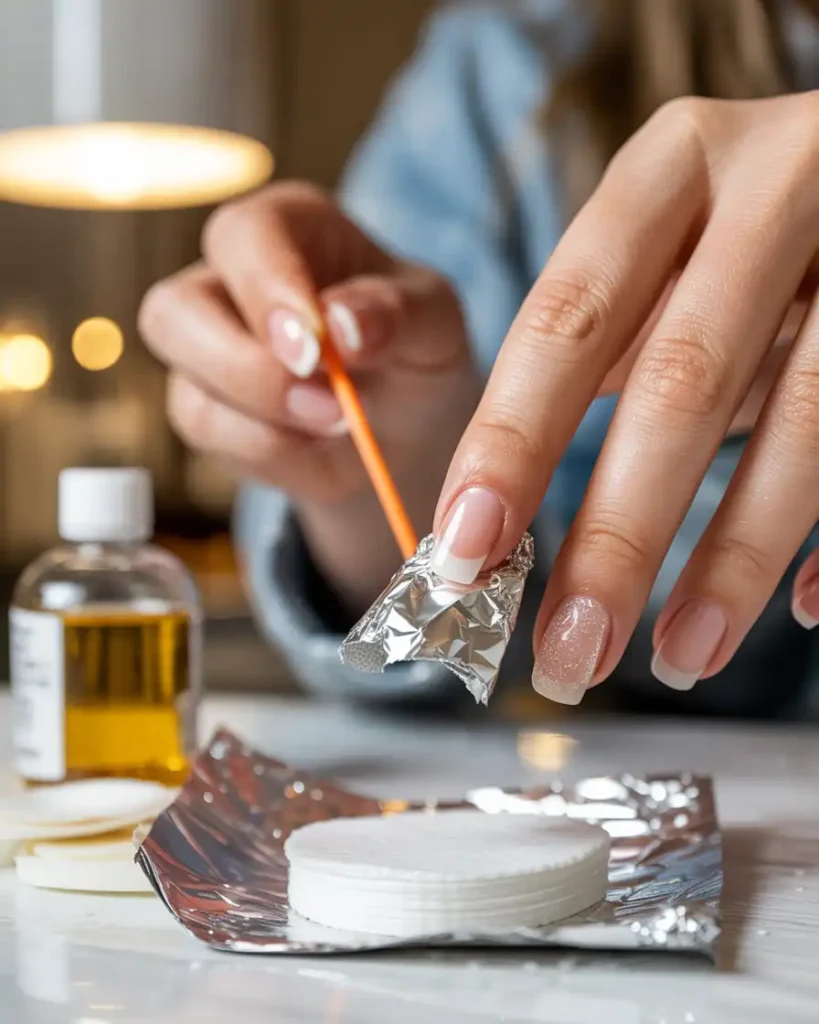
Ripping acrylic off sounds satisfying until your natural nails feel like tissue paper. Remove them the right way.
Step-by-step acrylic removal
- File off the top coat and bulk acrylic layer
- Soak cotton in acetone
- Place cotton on nails and wrap with foil
- Wait 15–20 minutes
- Gently push softened acrylic off
- Repeat soak if needed
- Buff lightly and apply cuticle oil
If acrylic doesn’t lift easily, soak longer. Don’t force it. Your nails will remember.
Conclusion: you totally can do acrylic nails at home
You don’t need a salon appointment to get cute nails. You just need good prep, controlled acrylic beads, proper shaping, and patience. Start simple, keep your first sets short, and focus on clean application instead of wild length.
So, are you ready to try your first DIY acrylic set at home—or are you still pretending your nails “just grow like this” naturally? :/ Either way, grab your kit, take your time, and enjoy the glow-up.

Olivia Tran is the founder and creative force behind TheNailDesigns.