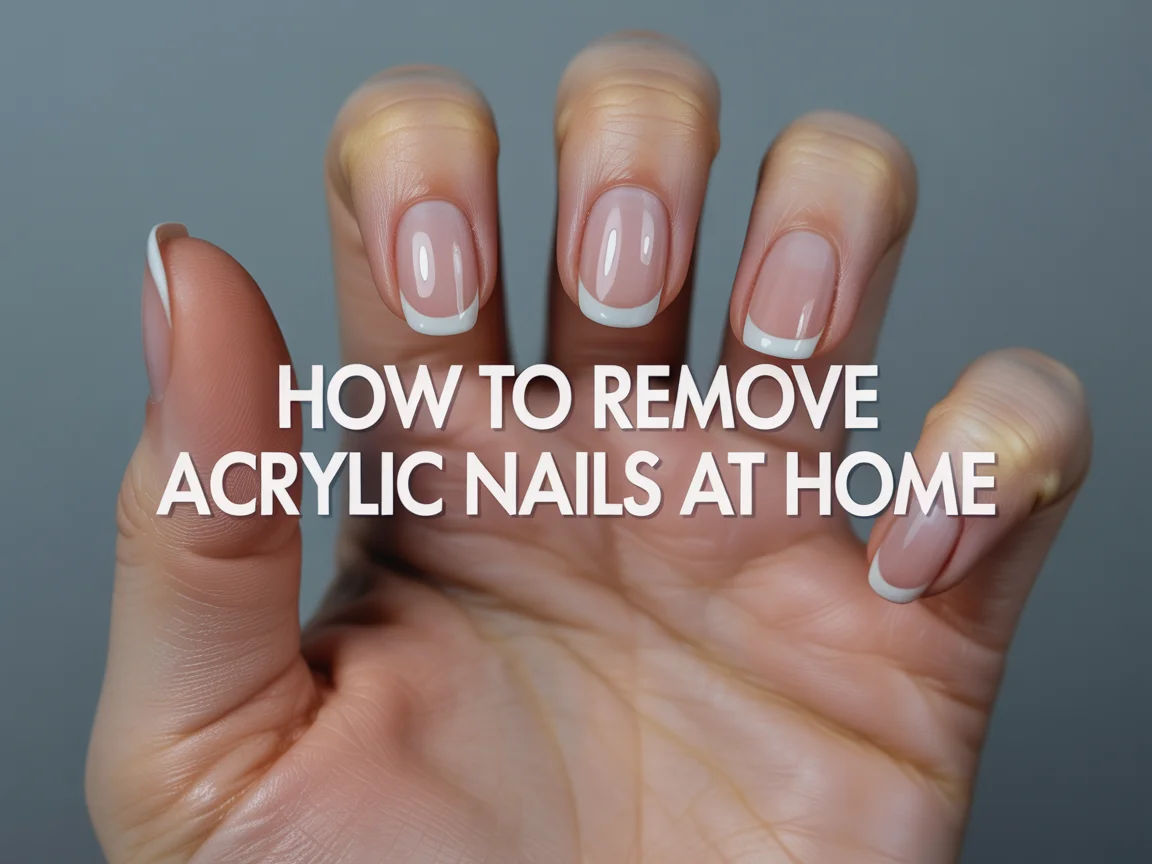
how to remove acrylic nails at home
Your acrylics looked amazing… and now they look like they survived a minor earthquake. One nail lifts, another catches on your hair, and suddenly you start considering the worst idea ever: ripping them off. Please don’t. I’ve done the “just peel it” move before, and my natural nails spent weeks acting like sad, thin little paper scraps.
So let’s do this properly. I’ll show you how to remove acrylic nails at home without wrecking your nail beds, without drama, and without turning your living room into an acetone-scented crime scene.
Know this first: you can’t “gently pop off” acrylics
Acrylic bonds to your nail. It doesn’t politely detach because you asked nicely. Ever wondered why acrylic removal takes time? Acrylic forms a tough layer that needs filing + soaking to break down.
If you try to yank it off, you’ll pull layers of your natural nail with it. That’s not “removal,” that’s “self-inflicted nail trauma.”
Rule #1: You remove acrylic by dissolving it, not by force.
What you need to remove acrylic nails at home
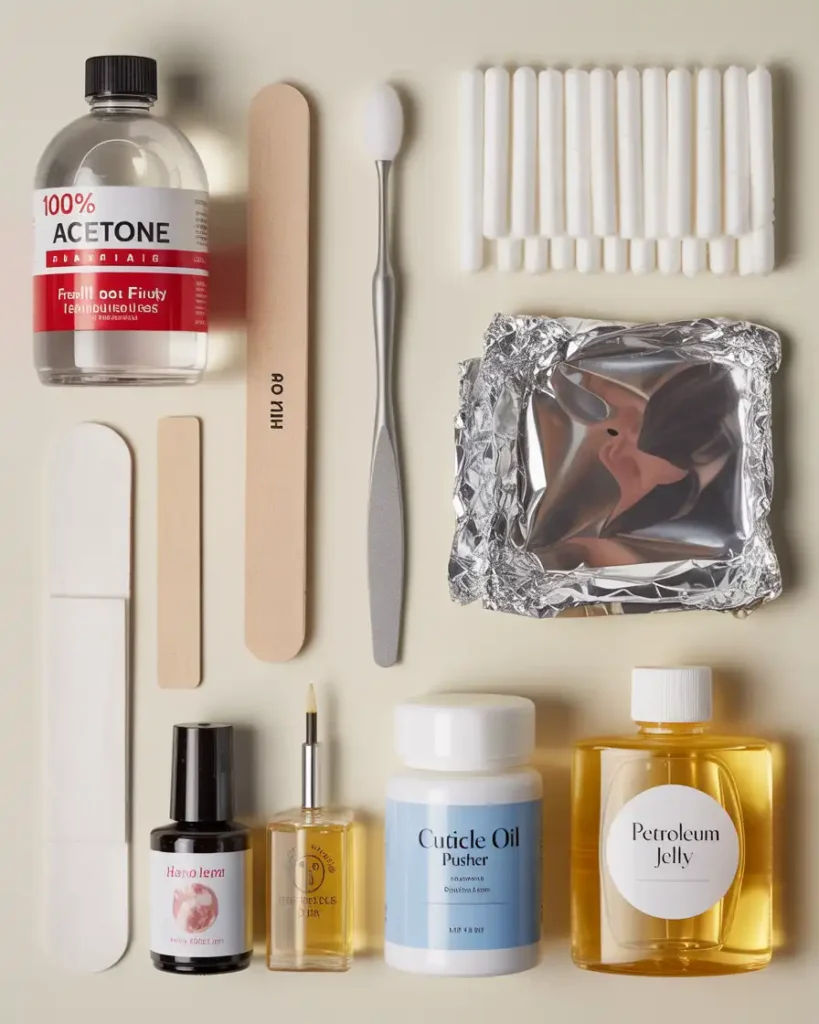
You don’t need fancy tools, but you do need the right ones. The right setup makes this process way less annoying.
Your at-home acrylic removal kit
- 100% acetone (non-negotiable)
- Nail file (100/180 grit) or an e-file (if you know what you’re doing)
- Cotton balls or cotton pads
- Aluminum foil (pre-cut squares help)
- Cuticle pusher or orangewood stick
- Buffer
- Petroleum jelly (or thick hand cream)
- Cuticle oil
- Hand lotion
Optional but helpful:
- A small bowl (for soak method)
- Plastic bag + warm towel (for a heat boost)
- Old towel (acetone and furniture don’t mix)
FYI: Regular nail polish remover won’t dissolve acrylic well. It’ll just waste your time and your patience.
Prep your nails before soaking (this step saves time)
If you skip prep, you’ll soak forever. I’m not saying you’ll grow old waiting… but you might.
Step 1: Clip length if you have long acrylics
Clip the acrylic down as short as you safely can. You’ll soak less product and speed up removal.
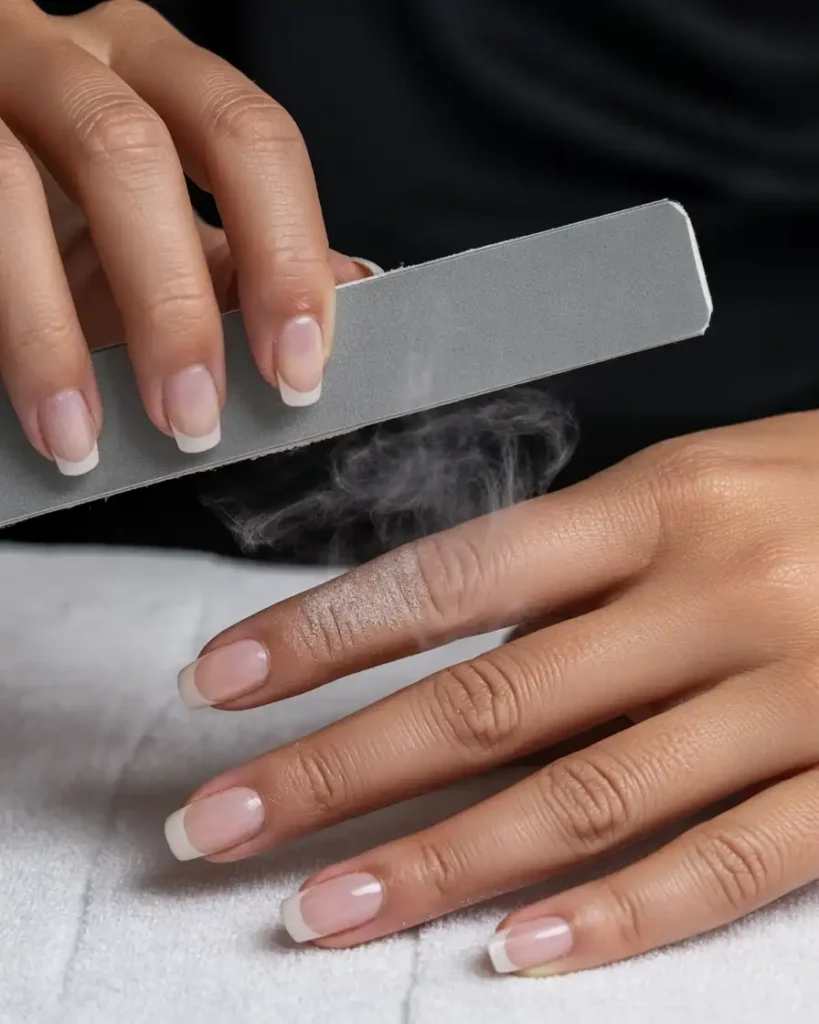
Step 2: File off the top coat and bulk
Grab your file and remove shine first. Then file down the thick acrylic layer.
Focus on:
- The shiny top coat (it blocks acetone)
- The thickest parts of acrylic
- Any design layers or gel polish on top
Don’t file your natural nail. Stop when you see a thin layer left and the surface looks slightly matte.
Method 1: The foil + acetone soak (best overall)
This method works reliably, and it doesn’t require you to dunk your fingertips in a bowl of acetone like a mad scientist.
Step-by-step foil removal
- Apply petroleum jelly around your fingertips and cuticles.
- Soak cotton in 100% acetone until it feels saturated.
- Place the cotton directly on the nail.
- Wrap each finger tightly with foil.
- Wait 15–20 minutes.
After 20 minutes, unwrap one nail and test it. You should see acrylic that looks soft, swollen, or flaky.
Remove softened acrylic the right way
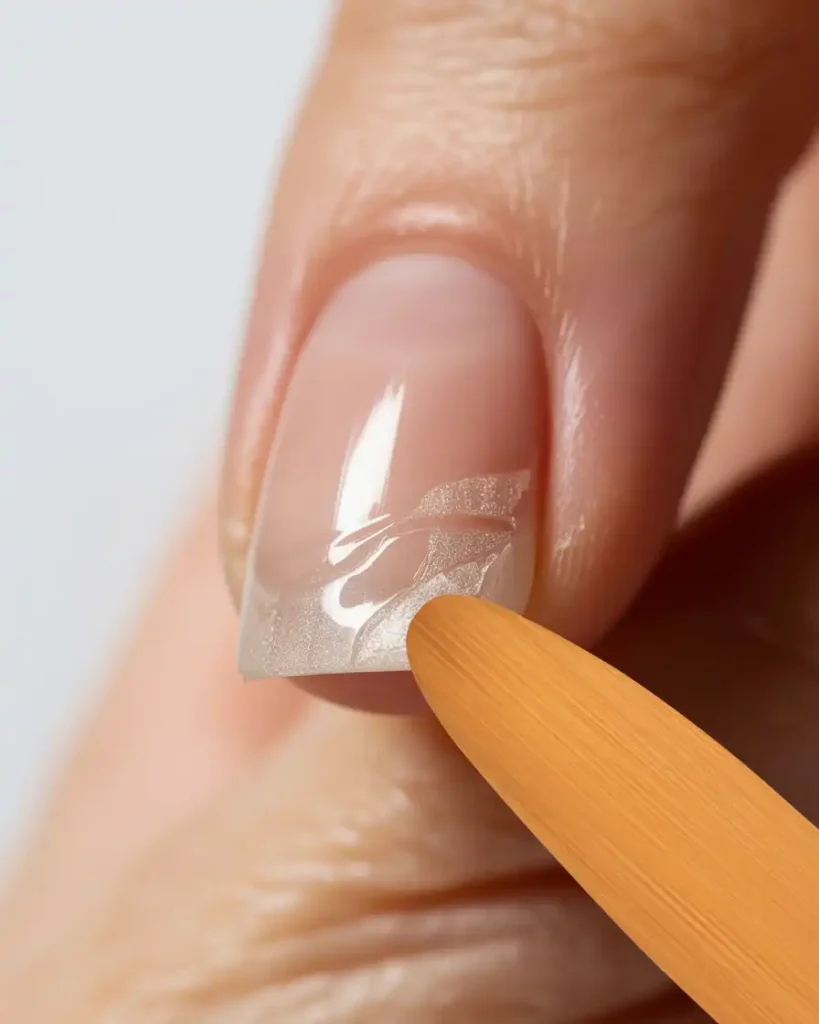
Use a cuticle pusher or orangewood stick and gently push product off.
- If it slides off, you win.
- If it fights you, soak again.
Rule #2: You never pry hard. Acrylic should come off like softened wax, not like stubborn wallpaper.
Method 2: The warm bowl soak (easy, but messier)
Some people love the bowl method because it feels simple. I use it when I run out of foil, which happens more often than I’d like to admit.
How to do the bowl soak safely
- Fill a bowl with acetone.
- Place that bowl in a larger bowl of warm water.
- Soak fingertips for 15–20 minutes.
- Gently push off loosened acrylic.
You can also add a towel over your hands to trap warmth. Heat speeds up acetone’s work.
Don’t use hot water. Hot water + acetone fumes = not the relaxing spa moment you imagined.
Method 3: “Fast” removal hacks (what works vs what wastes time)
People swear by random hacks online. Some help, some just create chaos. Ever tried the “soap and oil” trick for acrylics? Yeah… it barely touches acrylic.
What actually helps
- Warmth (wrap hands in a towel)
- Filing thinner before soaking
- Fresh acetone (old acetone loses punch)
- Tighter foil wraps (they keep acetone in contact)
What wastes time
- Soaking acrylic without filing first
- Using low-acetone remover
- Scraping aggressively between soaks
IMO, filing makes the biggest difference. You do the hard work once, and acetone handles the rest.
How to remove acrylic nails without acetone (real talk)
You can remove acrylic without acetone, but you will trade speed for extra effort. I don’t love this method, but some people need it.
Non-acetone option: file-down removal
You file the acrylic down until only a thin layer remains. Then you buff carefully and let the remainder grow out.
This method works if:
- You can’t use acetone
- You don’t mind time and dust
- You have patience (or denial)
You should still avoid filing into your natural nail. Keep a thin safety layer and stop early rather than going too far.
Common problems during acrylic removal (and how to fix them)
Acrylic removal goes smoothly when you stay calm and repeat the soak cycle. It goes badly when you get impatient. Ask me how I know.
Problem: acrylic turns gummy, not flaky
You didn’t file enough top coat or you used weak remover.
Fix:
- File more product off
- Use 100% acetone
- Re-wrap tightly and soak again
Problem: acrylic lifts at edges but won’t come off
You softened the surface, but the deeper layers still hold on.
Fix:
- Push off what lifts easily
- Soak again for 10 minutes
- Repeat until it releases
Problem: nails feel sore afterward
You likely scraped too hard or filed too far.
Fix:
- Stop buffing
- Add cuticle oil
- Give nails a break from extensions
Your nails should never feel “burny.” That sensation means you went too aggressive.
How to protect your skin during acetone removal
Acetone dries out skin fast. Your fingers can feel like a crunchy leaf if you don’t protect them.
Quick skin protection tips
- Coat surrounding skin with petroleum jelly
- Use a rich hand cream right after removal
- Wash hands gently and moisturize immediately
- Apply cuticle oil twice a day for a few days
I always treat removal day like “hand rehab day.” Your skin will thank you.
What to do after you remove acrylic nails at home
This part matters. Acrylic removal can leave nails thin, dry, and weak. You can rebuild them quickly with basic care.
Step-by-step aftercare routine
- Buff lightly only if needed
- Wash hands and dry thoroughly
- Apply cuticle oil generously
- Apply a thick hand cream
- Add a strengthening treatment if you like
If you plan to reapply nails, wait at least a day or two. Your nails will feel stronger, and your next set will adhere better.
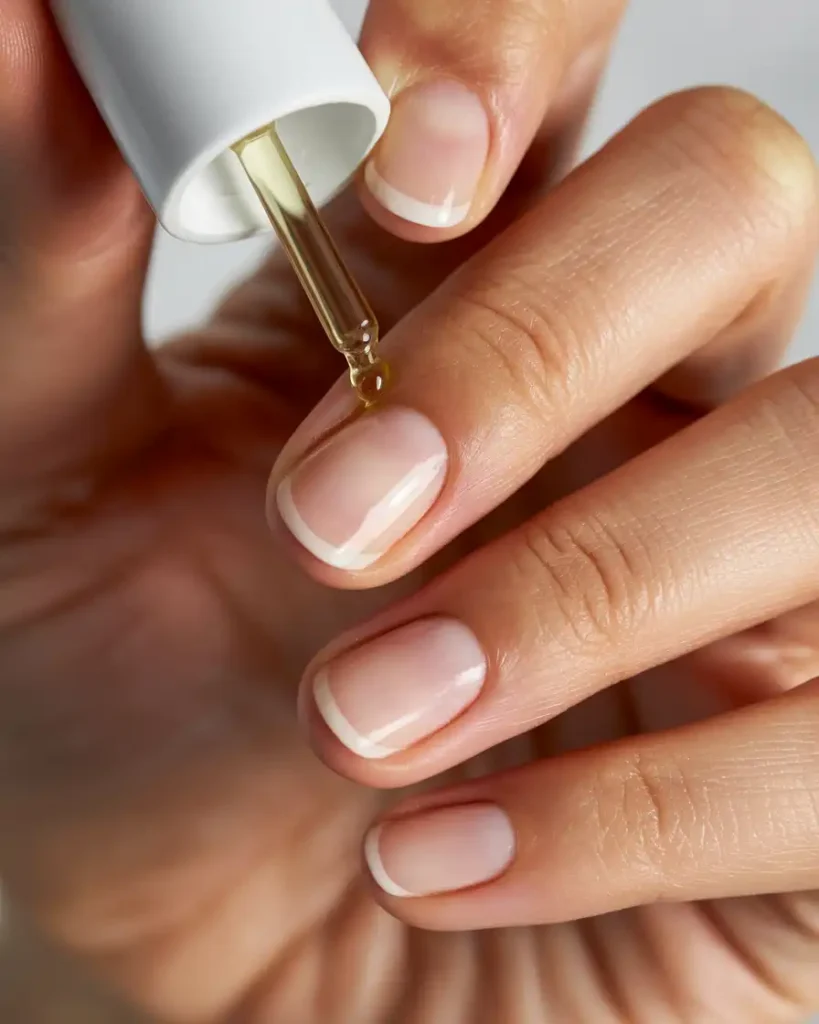
Use cuticle oil daily. It makes nails look healthier fast, and it helps them grow out smoothly.
How to remove acrylic nails at home without damaging your natural nails
Let’s keep this simple: damage happens when you rush.
The damage-free rules
- File first to remove top coat and thickness
- Soak in 100% acetone in cycles
- Push gently, never pry
- Re-soak when resistance shows up
- Moisturize immediately after
Ever noticed how some people remove acrylics and still have nice natural nails? They follow these rules and they don’t panic mid-process.
Acrylic removal timeline: how long should this take?
I’ll give you the honest answer. Acrylic removal takes time, and you should plan for it.
Typical timing:
- Filing: 10–20 minutes
- First soak: 15–20 minutes
- Push off + second soak: 10–20 minutes
- Cleanup and aftercare: 10 minutes
So yes, you might spend 45–70 minutes. That sounds long until you remember how long you’ll spend repairing damaged nails if you rip them off.
Quick Q&A: little things everyone asks
Can I remove acrylic nails at home with hot water?
Hot water won’t dissolve acrylic. Hot water only loosens glue sometimes, and acrylic doesn’t care.
Should I use a metal tool to scrape?
You can use a gentle pusher, but scraping hard damages nails. Use wood if you want more control.
Can I reuse press-ons after acrylic removal?
You can, but only if you remove them cleanly and keep them intact. Acrylic removal usually involves filing and acetone, so it doesn’t match “reuse-friendly” energy.
Conclusion: remove acrylic nails at home the calm way
You can absolutely learn how to remove acrylic nails at home without wrecking your nails. You just need filing, 100% acetone, patience, and gentle pushing. You also need aftercare because your hands deserve better than crusty acetone dryness.
So… will you remove your acrylics like a responsible nail person, or will you stare at that lifted edge like it challenges you? Grab the foil, turn on a show, and do it the clean way. Your natural nails will stay happy, and you’ll avoid the “why did I do that” regret spiral.

Olivia Tran is the founder and creative force behind TheNailDesigns.