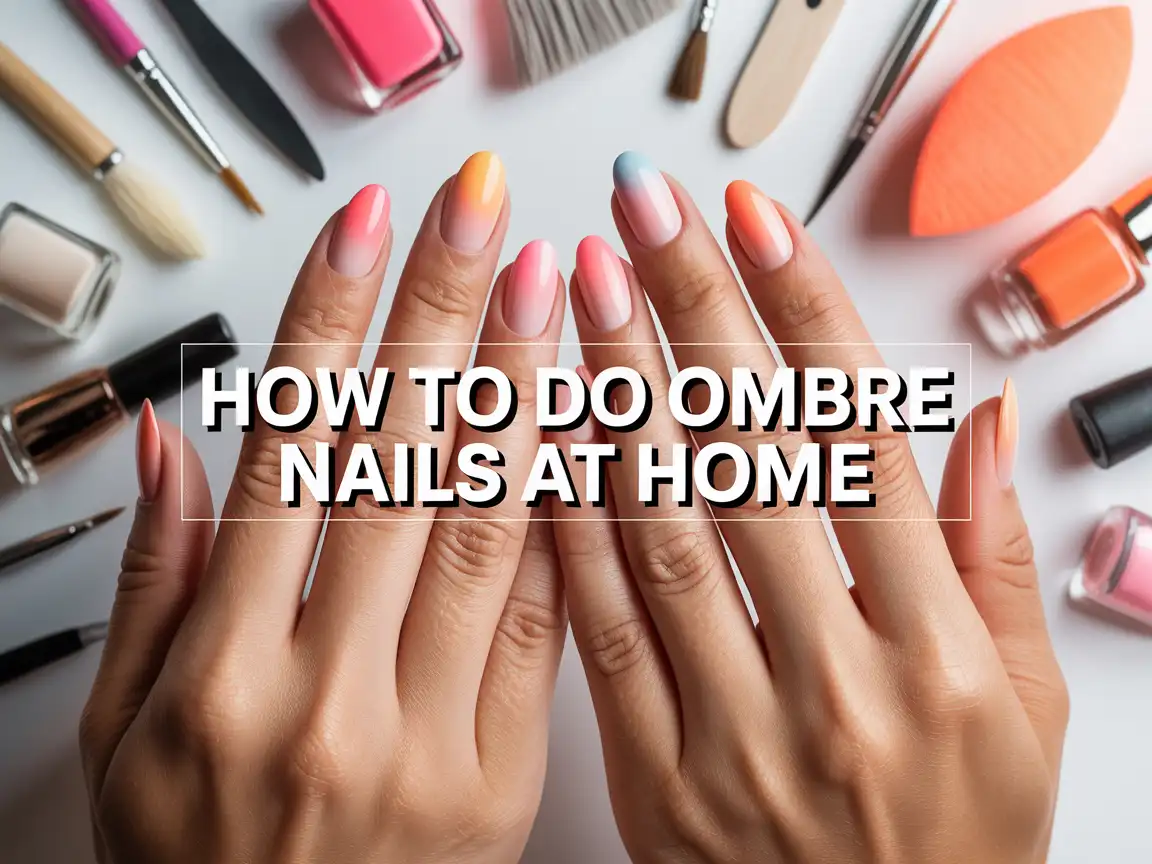
How to Do Ombre Nails at Home: Step-by-Step for Beginners
Ombre nails look like you walked out of a salon with your hands held up in slow motion, sunlight hitting that perfect fade. Then you try it at home and end up with “patchy gradient meets sponge disaster.” I’ve lived that life, and I refuse to let you suffer through it too.
You can absolutely learn how to do ombre nails at home even if you count “painting one hand” as a workout. Want a clean blend without streaks, harsh lines, or color chunks? Let’s do this step-by-step, beginner style.
What Ombre Nails Actually Are (And Why They Look So Smooth)
Ombre nails create a soft transition from one color to another. You usually fade light to dark, nude to white, or two complementary shades. You don’t need fancy tools to get the look, but you do need the right technique.
Most beginners struggle because they apply too much polish, press too hard, or skip blending steps. Ever wondered why salon ombre looks airbrushed? The tech uses thin layers and builds the fade slowly. You can copy that same idea at home.
Ombre vs Gradient vs Baby Boomer
People use these terms interchangeably, but you’ll see small differences.
- Ombre nails: any smooth fade from one color to another
- Gradient nails: often brighter, more contrast, sometimes multiple shades
- Baby boomer nails: classic nude-to-white fade, soft and natural
You can do all of these at home. You just need patience and a plan.
What You Need to Do Ombre Nails at Home
You can keep this simple. I love a minimal kit because I hate stopping mid-manicure to hunt for something like a chaotic treasure hunter.
Basic Ombre Nail Supplies
Grab these:
- Base coat (prevents staining and helps polish grip)
- Two nail polish colors (or more if you feel brave)
- Makeup sponge (a dense wedge sponge works best)
- Scissors (to cut sponge pieces)
- Top coat (glossy hides texture like magic)
- Nail file + buffer
- Cotton swabs and small brush for cleanup
- Nail polish remover (preferably acetone for fast cleanup)
If you use gel polish, you also need a lamp. This guide focuses on regular polish first because beginners usually start there.
Optional Extras That Make Ombre Easier
These help a lot if you want less mess:
- Liquid latex or peel-off barrier around the nail
- Nail tape for clean edges
- A small palette (foil works too)
- A detail brush for blending or touch-ups
FYI: Liquid latex saves your skin and your sanity. I consider it a luxury until I forget it, then I consider it “essential.”
How to Choose the Best Colors for Ombre Nails
Color choice can make ombre either effortless or unnecessarily stressful. You want shades that blend nicely together.
Beginner-Friendly Ombre Color Combos
Try these combos for your first time:
- Nude + white (baby boomer, always classy)
- Pink + white (soft, romantic, forgiving)
- Light blue + dark blue (easy fade, looks clean)
- Lavender + purple (smooth transition)
- Peach + coral (warm and cute)
I recommend choosing colors in the same “family” at first. Do you want your first attempt to blend easily or fight you for no reason?
Pick a Finish and Stick With It
Use polishes with similar finishes. If you mix a jelly polish with a thick cream, you can create uneven texture.
Here’s my honest comparison:
- Cream polish: easiest, most consistent, best for beginners
- Sheer/jelly polish: pretty, but it needs more layers
- Glitter: fun, but it hides mistakes and adds texture
IMO, start with creams and add glitter later when you feel confident.
Prep Your Nails Like You Want the Ombre to Look Expensive
Prep matters because ombre shows texture fast. You want a smooth surface so the blend looks clean.
Quick Prep Routine That Works
Do this before painting:
- File your nails into your preferred shape
- Buff lightly to smooth ridges
- Push back cuticles gently
- Wipe nails clean with remover or alcohol
- Apply base coat and let it dry
Keep it simple. You don’t need a 30-step ritual, but you do need clean nails.
Step-by-Step: How to Do Ombre Nails at Home With a Sponge
This method gives the most classic ombre look for beginners. It looks messy during the process, but it finishes cute. Trust the process.
Step 1: Paint a Base Color
Choose the lighter shade as your base. Paint all nails and let them dry fully.
If you want nude-to-white ombre, paint a nude or pale pink base. If you rush this step, you risk pulling up layers later. Ever tried ombre over semi-wet polish? It turns into a smeary tragedy.
Step 2: Prep Your Sponge
Cut a small piece of makeup sponge. You want a clean edge and a size that fits your nail.
Then do this:
- Dab the sponge lightly on a tissue once
- This removes loose sponge fibers
- Your ombre looks smoother after this
Yes, I learned this after I ended up with tiny sponge dots stuck in my polish. Cute, but not the vibe.
Step 3: Paint Stripes of Polish on the Sponge
Apply your two colors directly onto the sponge in stripes. Slightly overlap them in the middle.
For example:
- Light color at the bottom
- Darker color at the top
- Overlap in the center for blending
Work quickly, because polish dries on the sponge fast.
Step 4: Dab the Sponge Onto Your Nail
Dab, don’t drag. Light tapping creates a smoother fade.
Use this rhythm:
- Dab lightly 3–4 times
- Refresh polish on sponge
- Dab again
- Repeat until the fade looks smooth
Build the ombre in thin layers. This tip changes everything.
Step 5: Repeat Until You Get the Fade You Want
You usually need 2–4 rounds per nail. That sounds like a lot, but it keeps the blend soft.
Watch your sponge. If it looks dry, add fresh polish. If you press too hard, you’ll get harsh spots and texture.
Step 6: Clean Up the Mess
Ombre gets messy around the nail. That’s normal.
Clean up like this:
- Dip a small brush in remover
- Trace around the cuticle and sides
- Use a cotton swab for quick fixes
If you used liquid latex, peel it off and feel like a genius.
Step 7: Apply Top Coat to Smooth Everything Out
Top coat turns “patchy and textured” into “smooth and glossy.” It almost feels unfair.
Apply a generous top coat, but don’t flood your cuticles. Let it dry fully.
Top coat makes ombre look blended. You’ll see the magic instantly.
How to Do Ombre Nails Without a Sponge (Cleaner Options)
Some people hate the sponge method because it feels messy. I get it. If you want a cleaner approach, try these.
Brush-Blend Ombre Method
You can blend two polishes directly on the nail using a brush.
Try this:
- Paint the lighter color on the whole nail
- Apply the darker color to the top half
- Use a clean brush with a tiny bit of remover
- Tap and feather the line until it softens
This method takes practice, but it feels less chaotic.
Eyeshadow Applicator Ombre Method
A soft sponge-tip applicator can create a gentle fade with less texture.
You apply polish to the applicator and tap in layers. This works best for softer ombre looks and shorter nails.
Common Ombre Nail Problems (And Easy Fixes)
Ombre nails come with predictable issues. Let’s fix them fast.
My Ombre Looks Patchy
Patchiness happens when you use thick polish or you don’t layer enough.
Fix it by:
- Using thinner coats
- Re-dabbing with fresh polish
- Picking colors that blend easily
- Finishing with a thicker top coat
My Sponge Leaves Dots or Texture
Sponges create texture. Top coat fixes most of it.
Also try:
- Use a denser sponge
- Dab lightly
- Apply more thin layers instead of fewer heavy ones
My Ombre Looks Like a Harsh Line
You need more overlap in the middle.
Do this:
- Overlap stripes on the sponge
- Dab more in the center area
- Add a “middle shade” if needed
A third shade can make blending easier. You can mix your two colors on foil to create a transition shade.
My Ombre Chips Fast
Chipping often comes from skipping base coat or not sealing edges.
Try:
- Base coat every time
- Top coat and cap the free edge
- Avoid hot water right after painting
If you wash dishes immediately, your nails will throw a tantrum. Nails love gentle treatment.
Beginner Ombre Nail Designs That Look Super Cute
Once you nail the fade, you can level up the look without making it complicated.
Easy Ombre Ideas
Try these:
- Glitter ombre: apply glitter only at the tips
- French ombre: nude-to-white baby boomer style
- Pastel ombre: soft spring shades
- Neon ombre: bright fade for summer
- Matte ombre: matte top coat for a velvety look
Glitter hides small mistakes, so it works great for beginners. Yes, glitter can act like a filter for nails.
Conclusion: You Can Totally Do Ombre Nails at Home
You can learn how to do ombre nails at home: step-by-step for beginners without a salon appointment or a nervous breakdown. Start with easy colors, prep your nails well, and build the fade in thin layers. Then let top coat pull everything together like the final boss of smoothness.
Now tell me, do you want a nude-to-white baby boomer fade or a bold color gradient first? Pick one and try it this week, because nothing beats that moment when you look down and think, “Wait… I did that?!.”

Olivia Tran is the founder and creative force behind TheNailDesigns.