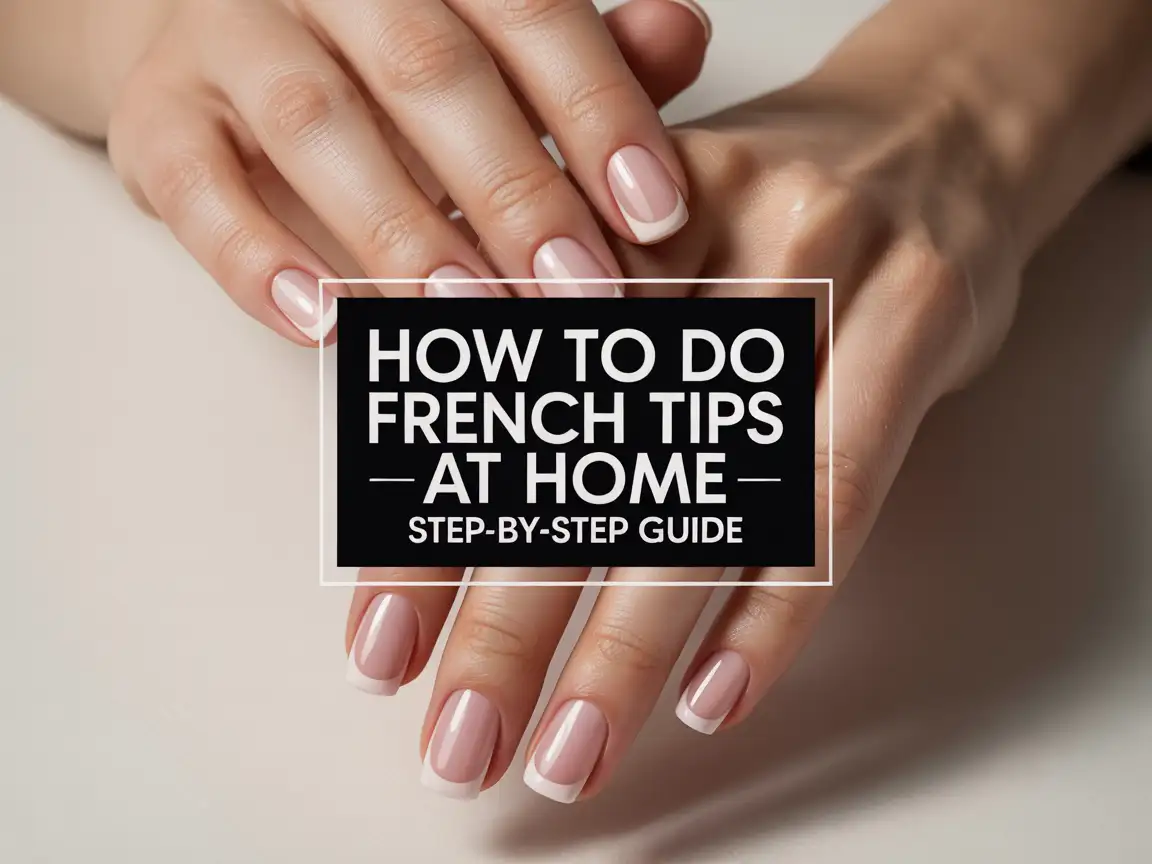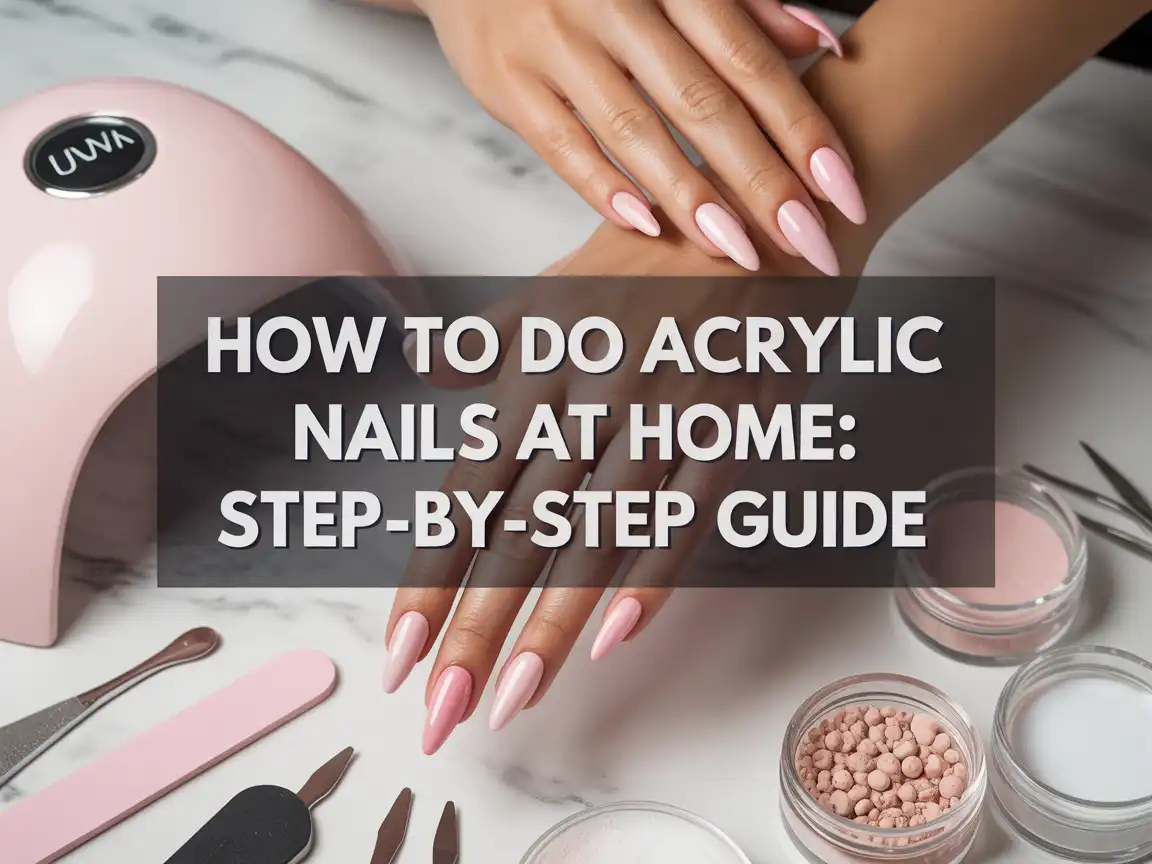
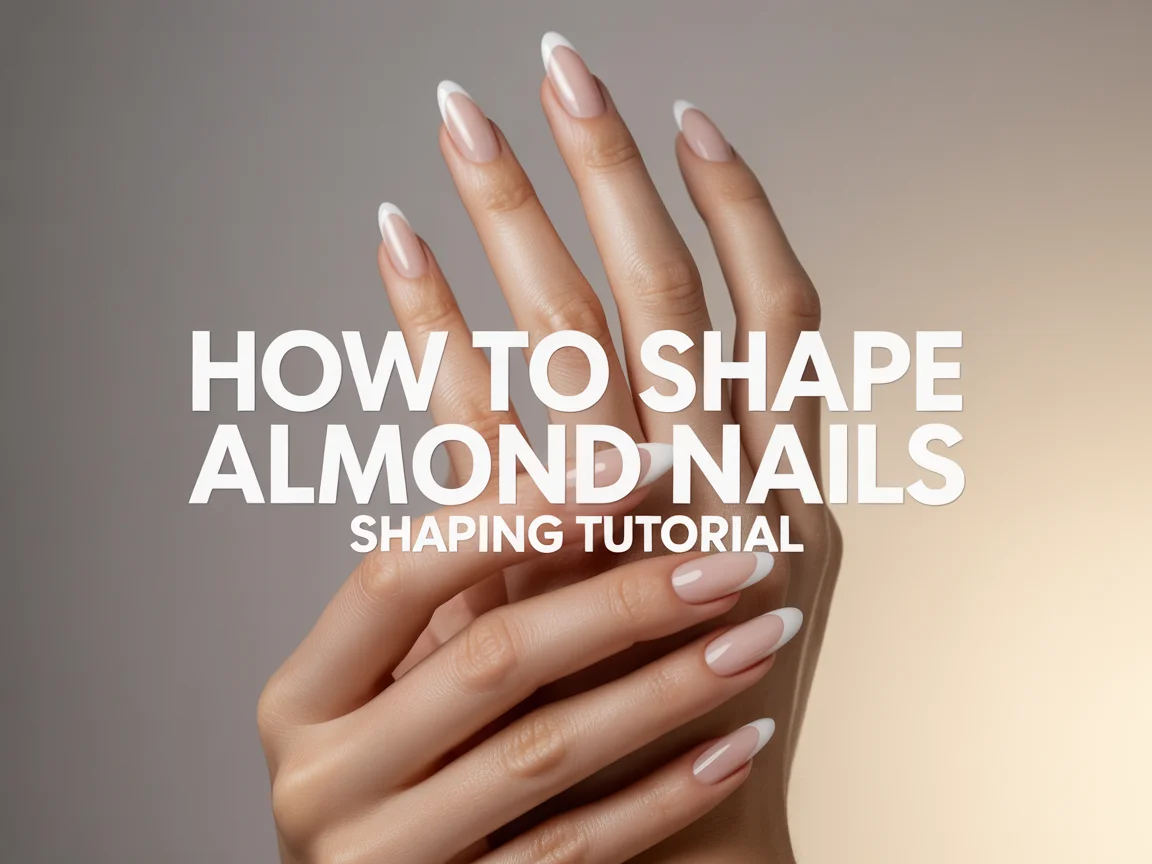
how to shape almond nails: Shaping tutorial
Almond nails look classy, clean, and a little “I have my life together” even when you absolutely do not. But shaping them at home can go sideways fast. One wrong file angle and suddenly you get “mysterious uneven egg shape” instead of elegant almond.
I’ve shaped almond nails on natural nails, on gel overlays, and on tips I definitely should’ve removed earlier. So trust me when I say: almond nails don’t require talent, they require a method. Want that smooth, balanced shape that makes your fingers look longer? Let’s do it.
What Almond Nails Should Look Like (So You Know What You’re Aiming For)
Almond nails look like a soft oval that narrows toward the tip. They don’t look sharp like a stiletto, and they don’t look round like a basic oval. They sit right in the middle.
Think “soft point,” not “weapon.” Ever wondered why almond nails look so flattering on almost everyone? They create a slimming effect because the sides taper gently.
Almond vs Oval vs Stiletto (Quick Comparison)
Here’s the vibe check:
- Oval: rounded tip, no real point, very natural
- Almond: tapered sides with a soft point, elegant
- Stiletto: aggressive taper with a sharp point, dramatic
If you want wearable and pretty, almond usually wins. IMO, almond nails also look expensive even with a plain nude polish.
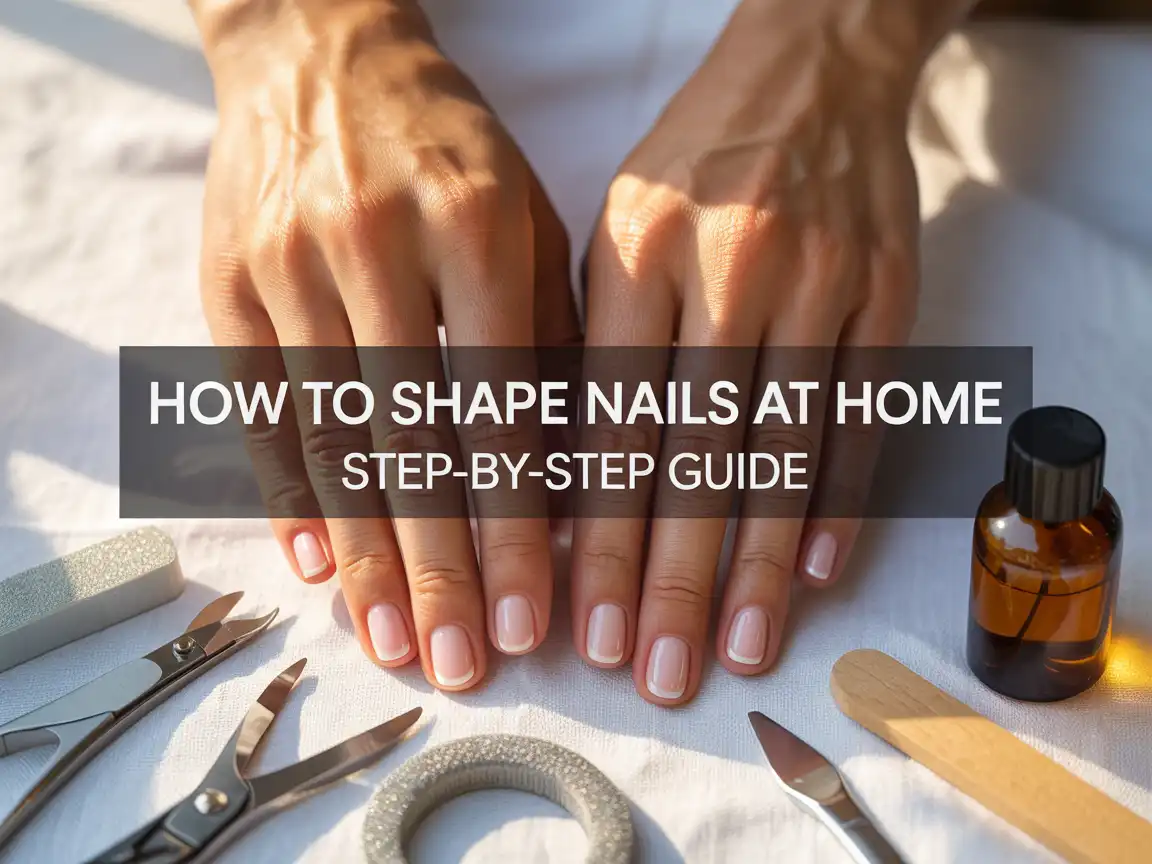
Tools You Need to Shape Almond Nails at Home
You don’t need a salon setup. You do need the right file and a little patience.
The Basic Almond Nail Shaping Kit
Grab these:
- Nail clippers (optional, for reducing length fast)
- 180 grit nail file (best for shaping)
- 240 grit file or buffer (best for smoothing)
- Cuticle oil (for after shaping)
- A dust brush or tissue
- Good lighting (seriously, don’t shape in the dark)
FYI: Don’t use a super rough file on natural nails unless you like peeling layers. Your nails will remember.
My Honest Take on File Types
Different files give different results. I’ve tried all of them because I love suffering, apparently.
- Emery board: affordable, easy, good for beginners
- Glass file: smooth, gentle, great for natural nails
- Metal file: too harsh for most people, skip it
If you shape natural nails often, a glass file feels like a cheat code.
The Golden Rule Before You Start: Choose Your Length
Almond nails need some length to show the shape. You don’t need super long nails, but you do need enough free edge to taper.
If your nails feel very short, you can still do a soft almond shape. You just need a subtle taper and a slightly rounded point.
How Much Length Do You Need?
Use this quick guide:
- Short nails: soft almond (gentle taper, rounded tip)
- Medium nails: classic almond (balanced taper, clear point)
- Long nails: dramatic almond (more taper, more definition)
Ever tried shaping almond on super short nails and wondered why it looks weird? Your nail needs space for the curve.
Prep Your Nails for Shaping (So You Don’t Crack Them)
Shaping goes smoother when you prep. You don’t need a full manicure routine, but you should set yourself up for success.
Shape on Dry Nails, Not Soaked Nails
Shape your nails when they feel dry. Water makes nails softer and more bendy, which leads to splitting when you file.
I used to shape right after a shower, and my nails chipped like they held a grudge. Now I shape dry, and I get cleaner edges.
Quick Prep Steps
Do this first:
- Remove old polish completely
- Wash and dry your hands
- Brush off debris under nails
- Decide your desired length and final shape
Keep your nails clean and dry, and you’ll get a stronger edge.
Step-by-Step: How to Shape Almond Nails (Beginner Friendly)
This is the shaping tutorial you actually need. Follow the order, and you’ll avoid the most common almond nail mistakes.
Step 1: Even Out the Length First
Start by making all nails the same length. You can clip them slightly if you need to reduce length quickly, then file to perfect the line.
Use your longest nail as the guide. If you try to “save length” on one nail, you’ll end up with mismatched shapes. Do you want almond nails or a confusing set of ten different personalities?
Key tip: Match length before you shape.
Step 2: Visualize the Center Line of Each Nail
Look at your nail from straight on and imagine a line down the center. That center line helps you keep symmetry while you taper the sides.
This step sounds silly, but it fixes 90% of crooked almond nails. I use this trick every time, and it keeps both sides balanced.
Key tip: You shape toward the center, not past it.
Step 3: File the Sidewalls Gently (The Almond Starts Here)
Hold the file at a slight angle and start filing the sides. Aim to taper the nail gradually toward the tip.
Do this:
- File one side for a few strokes
- Switch to the other side
- Repeat until both sides match
You want small, controlled strokes. When you get impatient and file one side too much, you create a crooked point. Yes, I’ve done it. No, I didn’t enjoy it.
Key tip: Alternate sides to stay symmetrical.
Step 4: Create the Soft Point (But Don’t Go Stiletto)
Once you taper the sides, you’ll see a natural point forming. Now you refine it.
File the tip lightly to soften the point. Almond nails should look smooth and rounded at the top, not sharp.
Ask yourself: do you want “soft almond” or “I could open letters with these”? Keep it soft.
Key tip: Almond nails need a rounded point, not a sharp spike.
Step 5: Check Your Shape From Every Angle
Stop and check often. You don’t need to file nonstop like you’re in a speedrun.
Look at your nails:
- From the front
- From the side
- From above
- With fingers held together
You’ll spot unevenness faster when you compare nails side-by-side. Ever noticed how one nail always looks different? You can fix it here, before you over-file.
Key tip: Check every few strokes, not every few minutes.
Step 6: Smooth the Edges With a Finer Grit
After you lock in the shape, smooth the edges with a 240 grit file or buffer. This step removes jagged edges and prevents snags.
You want your nail edge to feel smooth when you run a finger across it. If it catches on fabric, you need more smoothing.
Key tip: A smooth edge helps prevent chips and splits.
Common Almond Nail Shaping Mistakes (And How to Fix Them)
Everyone makes these mistakes at least once. I made most of them twice because I love learning “the hard way.”
Mistake 1: One Side Looks Longer
You probably filed one side more aggressively. Fix it by filing the longer side only a little, then balancing the other side.
Use your center line trick again. Keep your file strokes small and controlled.
Fix: Adjust slowly, then re-check.
Mistake 2: The Tip Looks Too Pointy
Your nail drifted toward stiletto. You can fix this fast.
File the very tip horizontally for 1–2 strokes, then round it slightly. You’ll soften the point without ruining the almond.
Fix: Flatten slightly, then round the edges.
Mistake 3: The Nail Looks Like an Oval, Not Almond
You didn’t taper enough. Add a little taper on both sides near the tip.
Don’t overdo it. Almond needs a defined taper, but it still needs softness.
Fix: Taper near the tip, not the entire side.
Mistake 4: My Nails Split After Shaping
You likely shaped on wet nails or used a rough file. You can prevent splits with dry shaping and smoother tools.
A glass file helps a lot. So does finishing with a finer grit.
Fix: Shape dry and smooth the edge.
Almond Nail Shape Maintenance (So You Don’t Start From Scratch Every Time)
Almond looks best when you maintain it. You don’t need to reshape completely each week. You just need small touch-ups.
Quick Weekly Maintenance Routine
Do this once a week:
- File lightly to keep the taper
- Smooth edges with fine grit
- Apply cuticle oil
This routine keeps the shape consistent and helps prevent breaks. It also stops that “one nail looks different” problem.
Key tip: Maintenance takes five minutes and saves your nails.
My Favorite Almond Nail Filing Technique (When I Want Perfect Symmetry)
When I feel extra picky, I use this trick. It makes both hands match better.
The “Three Strokes Per Side” Method
Try this:
- File left side 3 strokes
- File right side 3 strokes
- Repeat until shape looks right
- Smooth the tip gently
This method forces you to stay balanced. It also stops the “oops I over-filed one side” spiral.
IMO, this works best when you feel impatient. It keeps you honest.
What to Do After Shaping Almond Nails
After shaping, your nails deserve a little care. Filing creates dust and can dry out the edges.
Finish Like a Pro
Do this:
- Brush off nail dust
- Wash hands and dry
- Apply cuticle oil
- Add a strengthening base coat if you plan to wear polish
Cuticle oil makes your nails look instantly healthier. Also, it makes you feel like you run a salon out of your bathroom, which feels fun.
FYI: Don’t apply oil right before gel polish. Oil and gel don’t get along
Conclusion: Almond Nails Get Easy When You Follow a Method
You can absolutely master how to shape almond nails at home. You just need the right order: match length, taper the sides slowly, form a soft point, and check symmetry often. Then smooth the edges and maintain the shape weekly.
Try this shaping tutorial once, and you’ll never go back to random filing. Next time you look down at your hands and see clean, balanced almond nails, you’ll feel that quiet pride like, “Yeah… I did that.”

Olivia Tran is the founder and creative force behind TheNailDesigns.