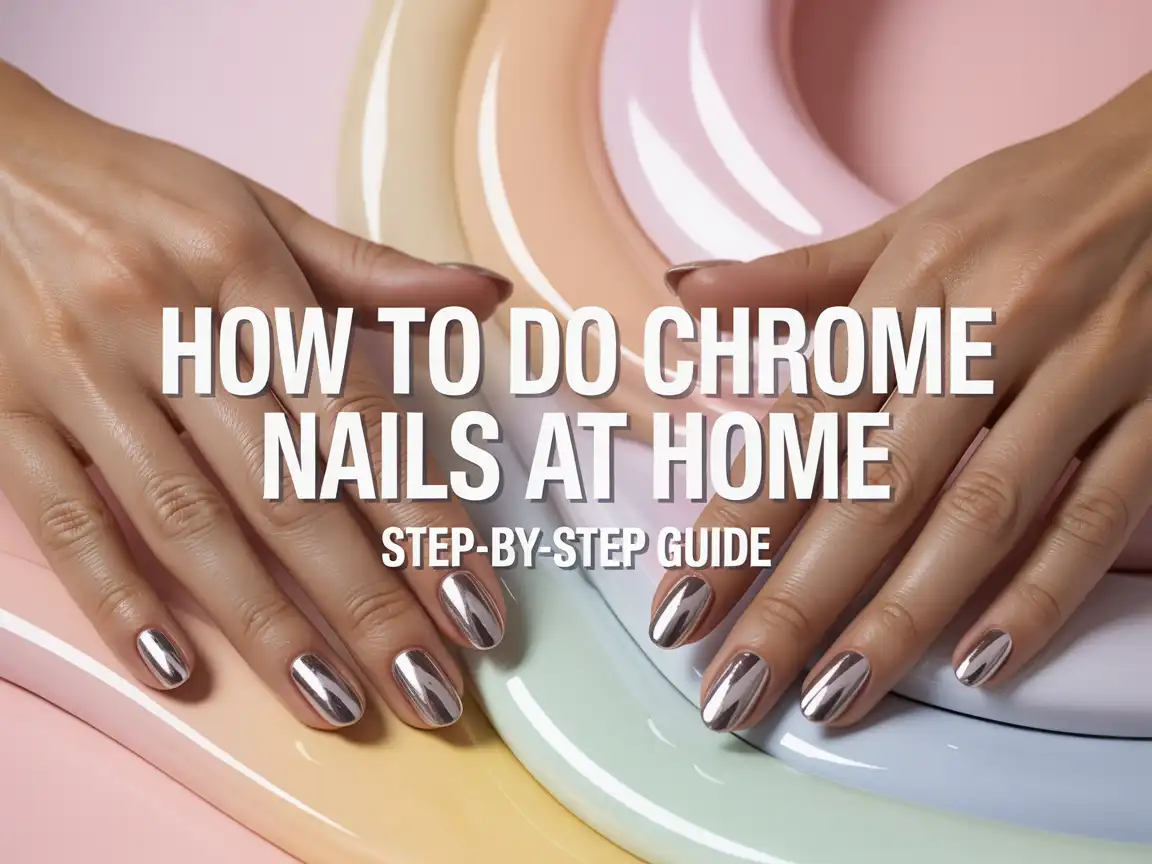
How To Do Chrome Nails At Home: Step-By-Step Guide
Chrome nails look like you dipped your fingertips in liquid metal and casually walked away like it’s no big deal. But then you check salon prices and suddenly you feel very “minimalist” about your nail goals. Been there. The good news? You can absolutely do chrome nails at home and get that mirror-shine finish without a professional setup.
I’ve messed up chrome more times than I want to admit, so I’ll save you the drama. Ever wondered why some chrome looks like a smooth, reflective glass finish… and other chrome looks like someone rubbed glitter on wet paint? Let’s fix that.
What Chrome Nails Really Are (And Why They Look So Fancy)
Chrome nails don’t come from a magical chrome polish bottle. You create chrome by buffing a super-fine chrome powder onto a specific base layer, usually a no-wipe gel top coat. That powder sticks in a very particular way, and it creates that reflective, metallic effect.
You basically build a “sticky-perfect” surface, rub the powder in, then seal it like you’re protecting a tiny, shiny treasure. Sounds simple, right? It is… once you know the little rules that matter.
Gel Chrome vs Regular Polish Chrome
Here’s my honest take: gel chrome wins for true mirror shine. Regular polish can look pretty, but it rarely gives that “glass metal” reflection.
If you want the easiest, most consistent result at home, I recommend:
- Gel polish + no-wipe top coat + chrome powder
- UV/LED lamp (nothing fancy, but it has to cure properly)
If you only have regular polish, you can still do a chrome-inspired look, but you won’t get the same mirror payoff. IMO, gel chrome looks like the real deal.
What You Need To Do Chrome Nails At Home
Before you start, gather your supplies. Nothing ruins a vibe faster than realizing you forgot a top coat mid-process, right?
The Essential Chrome Nail Kit
You’ll want:
- Nail file (180/240 grit) for shaping
- Buffer block to smooth the nail surface
- Cuticle pusher (metal or wood)
- Alcohol wipes or nail cleanser to remove oils
- Base coat (gel)
- Gel color polish (black works best for mirror chrome)
- No-wipe gel top coat (this matters a lot)
- Chrome powder (mirror chrome, pearl chrome, holographic, etc.)
- Eyeshadow sponge applicator or silicone tool
- UV/LED lamp
- Small fluffy brush to dust off powder
- Top coat for sealing (no-wipe or strong gel top coat)
FYI: If your top coat says “wipe,” it can still work, but no-wipe top coat makes chrome 10x easier.
Optional But Super Helpful Extras
These make your finish cleaner and longer-lasting:
- Liquid latex or peel-off barrier for the skin around nails
- Nail dehydrator + primer (great for oily nail beds)
- Thin liner brush for sealing edges neatly
- Non-acetone remover for quick cleanups
Ever noticed how chrome sometimes chips at the tips first? These extras help prevent that.
Prep Your Nails Like You Mean It
Chrome shows everything. Every bump. Every ridge. Every “I rushed this because Netflix autoplay started.” So prep matters.
Shape, Clean, and Smooth
Do this step-by-step:
- File your nails into your preferred shape (almond, square, coffin, whatever makes you feel powerful).
- Gently push back cuticles and clean the cuticle area.
- Buff the nail surface lightly until it looks smooth and slightly matte.
- Wipe with alcohol or cleanser to remove dust and oil.
Keep it clean, keep it smooth, keep it simple. Do you want chrome that looks like a mirror or chrome that looks like a fingerprint museum? Exactly.
Quick Tip: Don’t Skip the Cuticle Cleanup
Chrome highlights messy edges fast. If you leave cuticle buildup, you risk lifting later. Clean edges = longer wear and a more professional finish.
Step-By-Step: How To Do Chrome Nails At Home
This is the main event. Take your time, and you’ll get that salon-style chrome shine.
Step 1: Apply Base Coat and Cure
Apply a thin, even layer of gel base coat. Cure it under your lamp based on the brand’s timing (most sit around 30–60 seconds).
Keep layers thin. Thick gel causes bumps, and chrome punishes bumps.
Step 2: Apply Your Gel Color (Black Works Best)
Apply your gel color in one thin coat, cure, then apply a second coat if you need full coverage.
I almost always choose black under mirror chrome because it gives the deepest, most reflective finish. Want a softer vibe? Try nude, white, or pastel under chrome for a pearl effect.
Here’s how different bases look under chrome:
- Black base: bold, mirror-like, “liquid metal”
- White base: icy, brighter, more futuristic
- Nude base: classy, soft champagne chrome
- Color base: tinted chrome that looks custom
Ever wanted rose-gold chrome without buying a million powders? Use a pink base and a neutral chrome powder.
Step 3: Apply No-Wipe Top Coat (The Make-Or-Break Layer)
Apply a thin layer of no-wipe gel top coat and cure it.
Now here’s the part people mess up: you don’t always want a full cure for chrome, depending on the brand. Some chrome powders rub in best after a slightly shorter cure.
A good rule I use:
- Cure about 30 seconds for many LED lamps
- If chrome looks patchy, adjust cure time slightly next try
If your chrome won’t stick, you likely over-cured or used the wrong top coat. Annoying? Yes. Fixable? Also yes.
Step 4: Rub in Chrome Powder Like You’re Polishing Jewelry
Use an eyeshadow sponge or silicone applicator. Pick up a small amount of powder and rub it into the nail with gentle pressure.
Do this:
- Start in the center
- Work toward the sides
- Finish at the tip
- Keep rubbing until it looks smooth and reflective
Chrome changes fast. One second it looks dusty, and the next it looks like a mirror. Ever watched that transformation and felt weirdly proud? Same
Step 5: Dust Off Excess Powder
Use a soft brush to remove leftover powder around the nail and cuticle.
Clean edges matter before sealing. If powder sits on your skin or sidewalls, your top coat can lift faster.
Step 6: Seal the Edges (This Stops Tip Chipping)
This step makes your chrome last. I never skip it.
You can seal in two ways:
- Option A: Apply a thin layer of base coat just along the free edge, cure it
- Option B: Apply your top coat carefully and cap the free edge
I like Option A when I want extra durability. Chrome tends to wear at the tips first, so you want a solid seal.
Step 7: Apply Top Coat and Cure
Now apply your final gel top coat. Cure fully.
Use a strong top coat if you want long wear. Some top coats dull chrome slightly, so test brands if you feel picky (and you should feel picky).
After curing, your nails should look like shiny metal. If you stare at them under a lamp for five minutes, I won’t judge you.
Common Chrome Nail Problems (And How To Fix Them)
Chrome acts dramatic sometimes. Let’s deal with the usual nonsense.
Patchy Chrome That Won’t Stick
This happens a lot. Fix it with:
- Use a true no-wipe top coat
- Cure slightly less (if your powder needs tack)
- Buff your base color smoother
- Rub the powder longer and with steadier pressure
Patchiness usually comes from the top coat layer not being “right” for the powder.
Chrome Looks Dull After Top Coat
Some top coats kill the shine. Try this:
- Switch to a different top coat made for chrome
- Apply a thinner sealing layer
- Cure properly (under-curing can make it cloudy)
If your chrome looks perfect before sealing and dull after, your top coat causes the issue. Simple, but irritating.
Chrome Chips at the Tips in 24 Hours
You likely skipped edge sealing or you forgot to cap the free edge.
Do this next time:
- Seal edge with base coat, cure
- Cap edge again with top coat
- Keep layers thin and neat
Also, don’t use your nails as tools. I know opening soda cans with nails feels efficient, but nails hate that lifestyle.
Chrome Nail Looks You Can Do At Home Without Stress
Once you nail the basic chrome method, you can play.
Full Mirror Chrome
This gives the classic “metallic mirror” look. Use a black base and silver chrome powder.
Glazed Donut Chrome
Use a milky white or nude base with a pearl chrome powder. This look screams clean and expensive without trying too hard.
Chrome French Tips
Do a nude base, then apply chrome only to the tips. Want a cleaner line? Use French tip guides or paint the tip in gel, then chrome it.
Ombre Chrome
Blend a soft color base, then buff chrome more heavily on the tips and lightly toward the cuticle. You control the fade with your rubbing pressure.
Ever wanted nail art that looks complicated but actually feels easy? Chrome makes that happen.
How To Make Chrome Nails Last Longer
If you want your chrome to survive real life, follow these.
Daily Habits That Protect Chrome
- Wear gloves when cleaning or washing dishes
- Apply cuticle oil daily (it keeps edges flexible)
- Avoid acetone unless you remove the nails
Product Choices That Actually Matter
For long wear, prioritize:
- Quality base coat
- Smooth color layer
- Reliable no-wipe top coat
- Strong final sealing top coat
Cheap products can work, but they can also make chrome look uneven or wear faster. I’ve tested enough bargain top coats to earn the right to warn you.
Conclusion: You Can 100% Do Chrome Nails At Home
You don’t need a salon appointment to get that glossy, futuristic chrome finish. You just need smooth prep, the right top coat, and a little patience while you rub in the powder. Once you learn the feel of it, you’ll knock out chrome sets at home like it’s normal.
So what are you doing first: full mirror silver, glazed donut pearl, or chrome French tips? Pick one, take your time, and enjoy that moment when the powder turns into a mirror… because that moment feels like a tiny beauty superpower.

Olivia Tran is the founder and creative force behind TheNailDesigns.