How To Do French Tips At Home: Step-By-Step Guide
French tips look classy, clean, and timeless. They also look like something only salon pros with tiny brushes and magic powers can pull off, right? Nope. You can totally do French tips at home, and you don’t need a cosmetology license or a trust fund to make it happen.
I learned this the hard way after one too many “I’ll just touch it up myself” disasters. Spoiler alert: I survived, improved, and now I actually enjoy doing my own French tips. Ever wondered why this style refuses to go out of fashion? Let’s get into it.
Why French Tips Never Go Out of Style
French tips stick around because they work with everything. Jeans, wedding dresses, office meetings, lazy Sundays, you name it. They feel polished without screaming for attention.
I also love how forgiving they look. Even when they aren’t 100 percent perfect, they still pass the vibe check. That alone makes them ideal for at-home manicures, IMO.
So why pay salon prices when you can get the same look in your pajamas?
What You’ll Need Before You Start
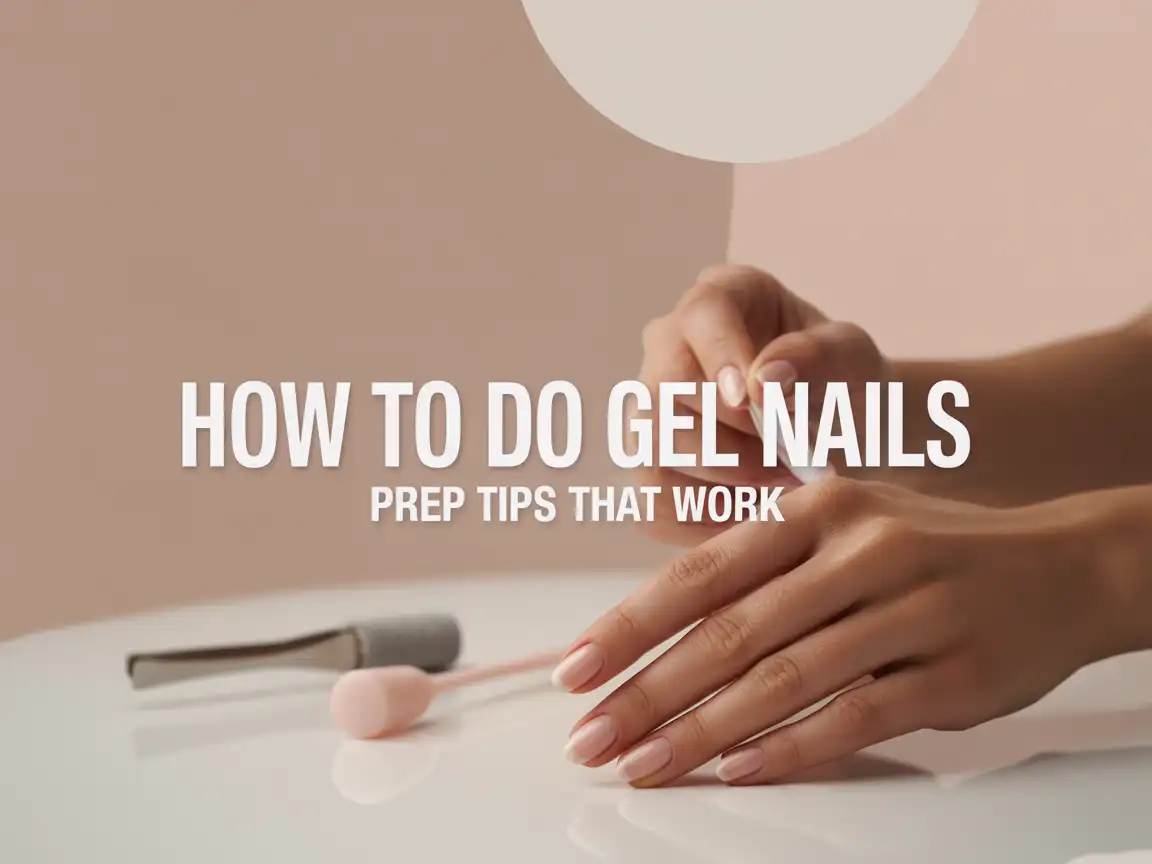
Nail Prep Essentials
Good French tips start before you even touch polish. I used to skip prep and wonder why my nails chipped in two days. Lesson learned.
Grab these basics first:
- Nail file to shape your nails evenly
- Cuticle pusher to clean up the nail bed
- Nail buffer for a smooth surface
- Nail cleanser or alcohol to remove oils
Clean nails help polish stick better. Simple logic, zero drama.
Polish and Tools That Actually Help
You don’t need a million tools, but the right ones save your sanity.
Here’s what works best:
- Sheer pink or nude base polish
- Opaque white polish for tips
- Top coat for shine and protection
- Thin nail art brush or striping brush
- French tip guides or tape if freehand scares you
FYI, I started with tape because my hands shook like I drank three coffees. No shame in that.
Nail Shape Matters More Than You Think
Choosing the Right Shape for French Tips
French tips look different depending on nail shape. Square nails give that classic look, while almond nails feel softer and modern.
Popular options include:
- Square or squoval for traditional vibes
- Almond for elegant and elongating nails
- Oval for a natural, low-key finish
I usually go squoval because sharp corners chip faster, and I don’t have time for that :/
Keep Length Consistent
Uneven length ruins the illusion fast. I always line up my fingers and file slowly until they match. This step feels boring, but it saves the whole look later.
Ever notice how salon nails always feel balanced? That’s not an accident.
Step-by-Step: How To Do French Tips At Home
Step 1: Prep Like a Pro
Start by washing your hands and removing old polish. Push back your cuticles gently and buff the nail surface lightly.
I keep my buffing soft because aggressive buffing weakens nails. Smooth, not sanded, wins every time.
Finish by wiping nails with alcohol to remove oils.
Step 2: Apply the Base Color
Apply a thin layer of your sheer pink or nude polish. Keep strokes light and controlled.
Let it dry completely, then add a second thin layer if needed. Thick layers ruin everything later, trust me.
Your base should look clean and natural, not streaky or cloudy.
Step 3: Create the White Tips
This step scares everyone, but it doesn’t need to.
You have three solid options:
- Freehand with a thin brush if you feel confident
- French tip guides for clean lines
- Tape method using thin strips
I started with guides, then graduated to freehand once my hands chilled out. Both work, so pick what feels right.
Paint the white tip in one smooth stroke if possible. Stop overthinking it.
Step 4: Clean Up Like Nothing Happened
Mistakes happen. I make them every time.
Dip a small brush or cotton swab in remover and clean edges carefully. This step transforms “oops” into “wow.”
Clean lines matter more than perfect brush strokes.
Step 5: Seal with a Top Coat
Apply a glossy top coat to lock everything in. Pull the brush gently over the tips to seal the edges.
This step adds shine and helps prevent chipping. Never skip it unless you enjoy redoing nails tomorrow.
Common French Tip Mistakes and How to Avoid Them
Thick White Tips
Thick tips make nails look stubby. I aim for a thin, balanced line that follows the nail shape.
If your tips look heavy, remove them and redo. It’s annoying, but worth it.
Uneven Smile Lines
The “smile line” should curve naturally. Straight lines look harsh on most nail shapes.
I follow the natural curve of my nail instead of forcing symmetry. Funny enough, that looks more symmetrical.
Rushing Dry Time
Wet layers ruin everything. I give each layer real drying time, even when I feel impatient.
Ever smudged a perfect tip five seconds before leaving? Yeah, same.
Gel vs Regular Polish for French Tips
Regular Polish Pros and Cons
Regular polish works great for beginners. It removes easily and lets you fix mistakes without stress.
Pros:
- Easy to use
- No lamp needed
- Budget-friendly
Cons:
- Chips faster
- Needs more drying time
Gel Polish Pros and Cons
Gel polish lasts longer and looks ultra-glossy. It also demands more patience and tools.
Pros:
- Long-lasting
- High shine
- Salon-level finish
Cons:
- Requires a UV or LED lamp
- Harder to fix mistakes
I use gel when I want nails to survive a busy week. I use regular polish when I want flexibility.
Easy French Tip Variations to Try at Home
Soft French Tips
Swap bright white for off-white or milky tones. This look feels modern and subtle.
I love this style when I want something fresh but not flashy.
Colored French Tips
Use pastels, neons, or even black for the tips. Color instantly changes the mood.
This version feels fun without losing structure. Ever tried baby blue tips? Highly recommend.
Micro French Tips
Keep tips super thin for a minimalist look. This style looks chic and grown-up.
It also hides small mistakes better, which feels like a bonus.
How to Make Your French Tips Last Longer
Longevity matters. I don’t do my nails for them to quit early.
Here’s what helps:
- Cap the tips with top coat
- Avoid hot water for an hour after
- Use gloves for cleaning
- Reapply top coat every two to three days
Small habits make a big difference.
At-Home French Tips vs Salon French Tips
Salon French tips look flawless, no argument there. They also cost money and time.
At home, you get:
- Control over shape and style
- No appointment stress
- Practice that improves results
My first set looked shaky. My fifth set looked legit. Practice pays off faster than you think.
Confidence Makes the Biggest Difference
Your hands don’t need to be perfect. They need confidence.
I stopped obsessing over tiny flaws, and suddenly my nails looked better. Funny how that works.
Ever notice how confidence changes how things look? Nails included.
Final Thoughts on Doing French Tips at Home
French tips feel intimidating, but they don’t deserve the fear. With the right prep, patience, and tools, you can absolutely pull them off at home.
You save money, learn a skill, and get that clean, classic look whenever you want. Plus, nothing beats the feeling of someone asking where you got your nails done and saying, “Oh, I did them myself.”
So grab your polish, take your time, and enjoy the process. Worst case, you remove it and try again. Best case, you master French tips and never look back.

Olivia Tran is the founder and creative force behind TheNailDesigns.