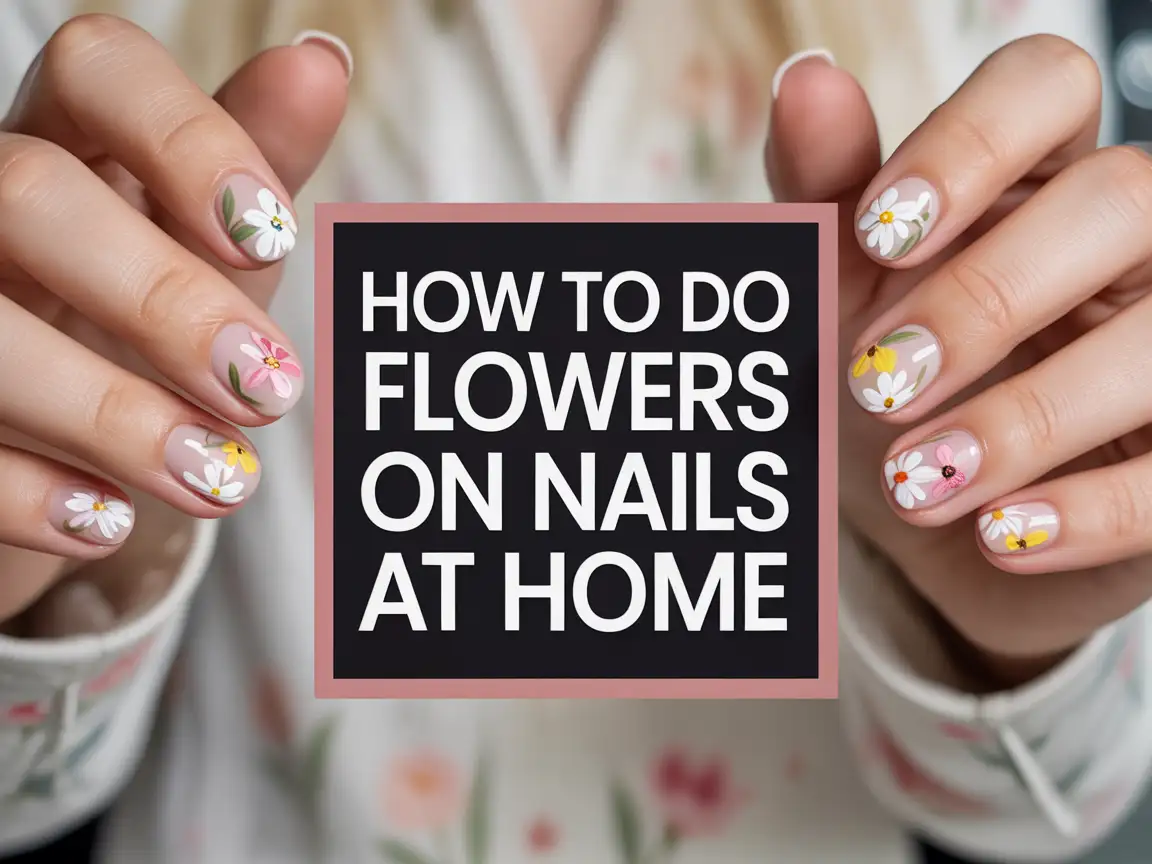
how to do flowers on nails at home
You know that moment when you see cute floral nails online and think, “I could totally do that,” then immediately panic? Yeah, same. I felt that way too until I actually tried it and realized flower nail art isn’t some elite skill reserved for nail wizards. You can do flowers on nails at home, and you don’t need fancy tools or a decade of practice.
I messed up plenty at first, laughed at myself, and kept going. Ever wondered why floral nails always feel so cheerful? Let’s break it all down and make it fun instead of intimidating.
Why Flower Nail Art Is Worth Learning
Flowers instantly change your nails from basic to “wow.” They add personality without screaming for attention. I love how floral designs work for every season, not just spring.
You also get serious bragging rights when someone asks where you got your nails done. Saying “I did them myself” never gets old, does it?
What You Need Before You Start
Nail Prep Basics You Should Never Skip
Great flower nail art starts with clean nails. I used to rush this part and regret it every time.
Make sure you have:
- Nail file for shaping
- Cuticle pusher to clean edges
- Nail buffer for a smooth surface
- Alcohol or nail cleanser to remove oils
Clean nails help polish stick better and last longer. This step saves you from chipping drama later.
Tools That Make Flower Nails Easier
You don’t need a pro kit, but a few simple tools help a lot.
Here’s what I actually use:
- Dotting tool or bobby pin
- Thin nail art brush or toothpick
- Base color polish
- Flower colors like white, pink, yellow
- Top coat for sealing
FYI, a toothpick works shockingly well if you don’t own fancy tools.
Choosing the Right Base Color for Floral Nails
Your base color sets the mood. Light shades feel soft and romantic, while dark shades make flowers pop.
I usually pick:
- Nude or sheer pink for delicate looks
- Pastels for playful designs
- Black or navy for bold contrast
Ever noticed how white flowers glow on dark polish? That contrast always wins.
Simple Flower Designs Perfect for Beginners
The Classic Five-Dot Flower
This design looks fancy but stays super easy. I started here, and I still use it.
Here’s how it works:
- Dip your dotting tool in polish
- Make five dots in a circle
- Add one dot in the center
Boom. Instant flower. Who knew something so simple looked so cute?
Daisy-Style Flowers
Daisies feel cheerful and forgiving. They also hide tiny mistakes well.
Use white for petals and yellow for the center. Space them out, and let them breathe.
I love daisies because they look intentional even when my hand slips.
Step-by-Step: How to Do Flowers on Nails at Home
Step 1: Prep and Base Coat
Start with clean, shaped nails. Apply your base color in thin layers and let it dry completely.
Rushing this step ruins everything later. I learned that lesson the hard way more than once.
Step 2: Place the Petals
Dip your dotting tool into your flower color. Place dots gently to form petals.
Keep pressure light. Heavy pressure creates blobs, and blobs don’t look like flowers.
Step 3: Add the Center
Switch colors and add a dot in the middle of each flower. This step pulls the whole design together.
I always pause here and admire my work. Small wins matter, right?
Step 4: Seal with Top Coat
Apply a glossy top coat once everything dries. Glide gently so you don’t smear your flowers.
This step protects your art and adds shine. Never skip it unless you enjoy redo sessions.
Using Toothpicks and Household Tools
Why Simple Tools Work Better Than You Think
Fancy tools help, but household items work just fine. I used bobby pins for months before buying a dotting tool.
Great alternatives include:
- Toothpicks for tiny details
- Bobby pins for round dots
- Makeup brushes for blending
IMO, creativity matters more than tools.
Common Flower Nail Art Mistakes
Using Too Much Polish
Too much polish causes smudges and thick petals. Thin layers always look cleaner.
I wipe excess polish off my tool before touching my nail. This habit changed everything.
Crowding the Design
Flowers need space. Cramming too many on one nail overwhelms the look.
Try one or two flowers per nail. Less really does look better here.
Not Letting Layers Dry
Wet layers ruin designs fast. I wait a full minute between steps.
Ever dragged a top coat through a fresh flower? Yeah, that hurts :/
Easy Color Combos That Always Look Good
Soft and Subtle Combos
These feel classy and wearable:
- Nude base + white flowers
- Pastel pink + darker pink petals
- Sheer base + tiny white daisies
These combos feel safe and timeless.
Bold and Fun Combos
These add drama and flair:
- Black base + bright flowers
- Navy base + white and yellow daisies
- Neon base + contrasting petals
I save bold combos for weekends or vacations. They feel extra in the best way.
Freehand Flowers vs Dotting Flowers
Dotting Tool Flowers
Dotting works best for beginners. The shapes stay consistent, and control feels easier.
Pros:
- Easy to learn
- Quick results
- Minimal cleanup
Freehand Flowers
Freehand gives more creative freedom. It also requires patience and practice.
Pros:
- Unique designs
- Artistic flow
- More detail
I mix both styles depending on my mood.
How to Make Flower Nail Art Last Longer
Longevity matters. I don’t spend time on nail art just to watch it chip tomorrow.
Here’s what helps:
- Seal edges with top coat
- Avoid hot water for one hour
- Wear gloves when cleaning
- Refresh top coat every two days
Small habits keep designs looking fresh.
Adding Leaves and Extra Details
Leaves add dimension and realism. I use a thin brush or toothpick for this part.
Keep leaves small and simple. Overdoing details steals attention from the flowers.
Ever notice how tiny accents make designs feel complete?
Gel vs Regular Polish for Flower Nails
Regular Polish
Regular polish feels beginner-friendly. Cleanup stays easy, and removal feels painless.
Pros:
- Easy fixes
- No lamp needed
- Budget-friendly
Cons:
- Shorter wear time
Gel Polish
Gel polish lasts longer and looks glossy. It demands patience and precision.
Pros:
- Long-lasting
- Professional finish
Cons:
- Harder to fix mistakes
I choose gel for special occasions and regular polish for everyday fun.
Confidence Makes the Biggest Difference
Perfect flowers don’t exist. Personality matters more than symmetry.
Once I stopped chasing perfection, my designs looked better. Funny how confidence changes everything.
Ever noticed how flaws disappear when you stop staring at them?
Final Thoughts on Doing Flowers on Nails at Home
Flower nail art looks impressive, but it doesn’t need to feel stressful. With basic tools, simple techniques, and a little patience, you can create adorable designs at home.
You save money, learn a skill, and enjoy the creative process. Plus, nothing beats looking at your hands and thinking, “Yeah, I did that.”
So grab your polish, start small, and have fun with it. If one flower looks weird, call it abstract and keep going.

Olivia Tran is the founder and creative force behind TheNailDesigns.