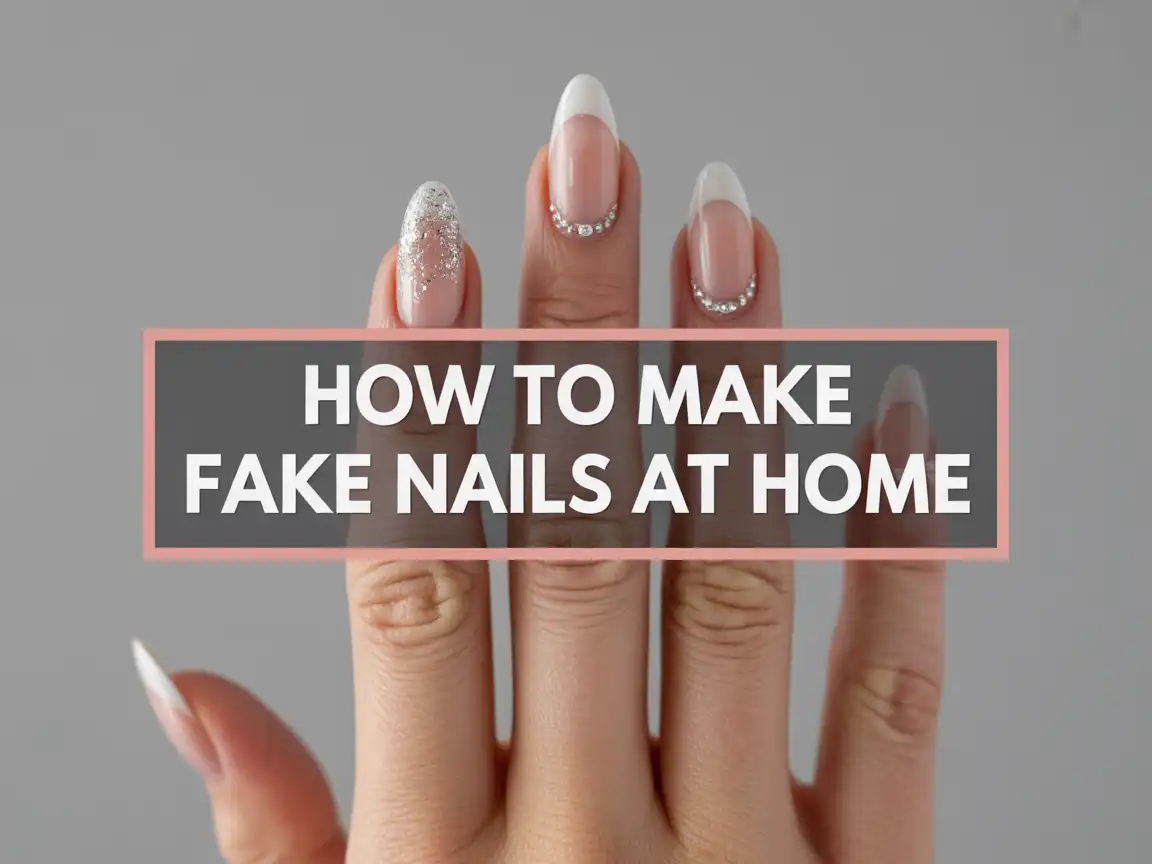
how to make fake nails At Home
You want cute nails right now, not “after I book an appointment, commute, and spend my entire paycheck.” Same. Fake nails solve that problem fast, and once you learn how to make fake nails at home, you basically unlock a new superpower: instant glow-up hands whenever you feel like it.
I’ve made fake nails for last-minute events, random Tuesday motivation boosts, and those moments when I stare at my chipped polish and feel personally attacked. So let’s do this the easy way, the clean way, and the way that doesn’t end with one nail flying off in public like a dramatic exit.
Choose your fake nail style (because you’ve got options)
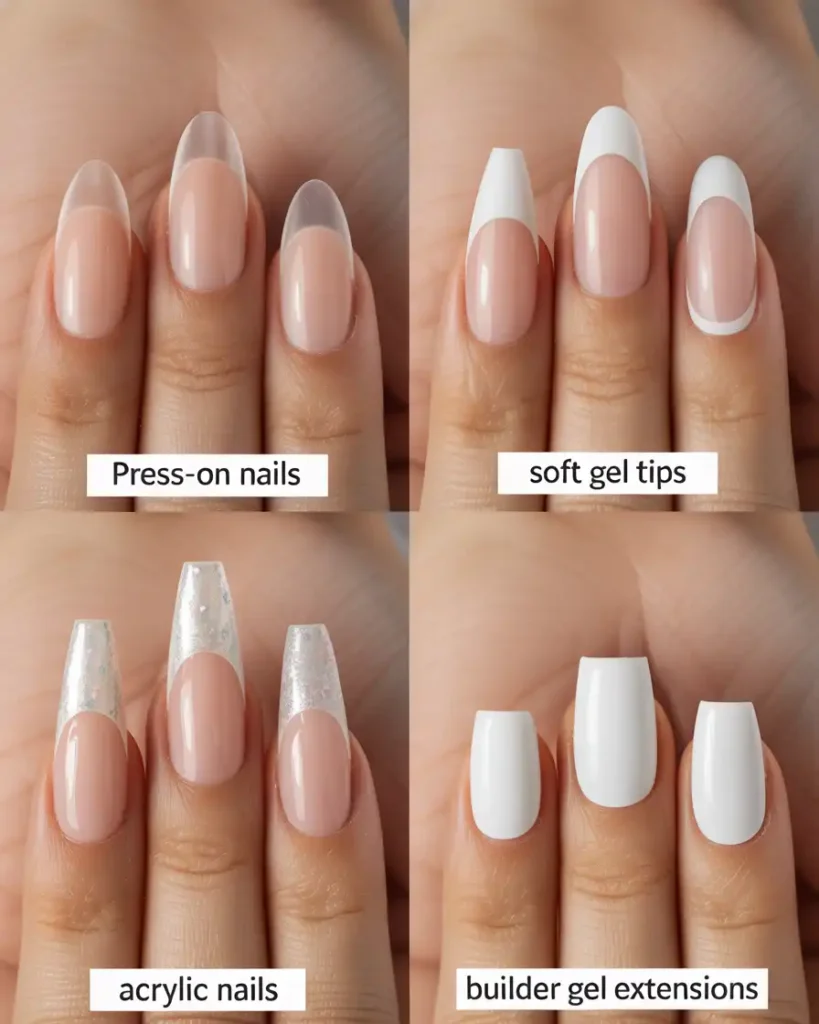
Before you start, you need to pick what “fake nails” means for you. Do you want quick press-ons, DIY gel tips, or full acrylic drama? Why make life harder than it needs to be?
Here are the main types I actually recommend:
- Press-on nails: fastest and beginner-friendly
- Soft gel tips (Gel-X style): strong and sleek with a lamp
- Acrylic tips: durable, but they demand practice
- DIY nail extensions with builder gel: natural look, slower process
If you want easy, pick press-ons. If you want long wear and salon vibes, pick gel tips or acrylic.
Get your supplies ready (no chaos allowed)
You don’t need a giant kit that looks like a mini hardware store. You need a few basics that make fake nails stay on and look good.
Essentials for making fake nails at home
- Fake nail tips or press-on nails (full cover or standard tips)
- Nail glue or adhesive tabs (depending on how long you want them to last)
- Nail file (180 grit) and buffer
- Cuticle pusher
- Alcohol wipes or isopropyl alcohol
- Nail dehydrator and primer (especially for long wear)
- Top coat (regular or gel)
Optional but amazing:
- UV/LED lamp (if you use gel)
- Builder gel (for DIY gel extensions)
- Small scissors and tweezers (for shaping tabs)
- Cuticle oil (for the “I take care of myself” finish)
FYI: If you skip prep products, fake nails will still stick… just not for long.
Prep your natural nails like you mean it

Prep decides everything. You can use the fanciest fake nails on Earth, but oil, dust, and cuticles will ruin the vibe instantly. Ever wondered why one person’s press-ons last two weeks and yours last two hours? Prep.
Step-by-step nail prep
- Wash your hands, then dry them completely.
- Push back your cuticles gently.
- Buff the shine off your natural nails.
- File the edges so everything looks neat.
- Wipe each nail with alcohol to remove oils.
- Apply dehydrator, then primer if you want extra grip.
Keep glue off your skin. Skin oils lift nails faster than you can say “why me.”
How to make fake nails with press-ons (fastest method)
Press-ons work great when you want instant nails with minimal effort. I love them for weekends, weddings, and those “I need to look put together in 20 minutes” emergencies.
Step 1: Pick the right sizes for each finger
Lay out the nails and match each one to your finger. You want a snug fit that covers the nail without pressing into the sides.
If the nail feels tight, size up. Tight nails pop off faster, and they feel annoying.
Step 2: Shape them before you glue
File and shape the press-ons first. Do you want coffin, almond, or short square? Decide now, because filing after glue feels like doing chores twice.
Step 3: Choose glue or tabs
This part matters more than people admit.
Glue:
- Lasts longer
- Feels stronger
- Takes more effort to remove
Adhesive tabs:
- Easy removal
- Great for 1–3 days
- Less durable with water
IMO, glue wins for long wear and tabs win for quick looks.
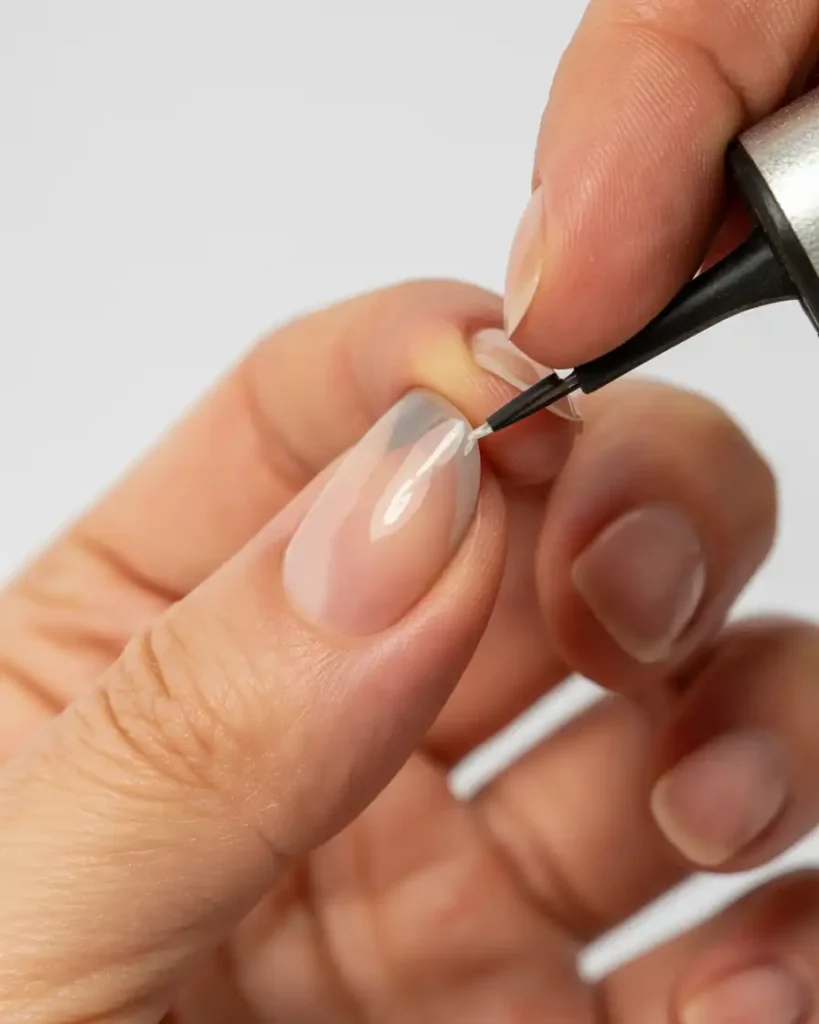
Step 4: Apply and press correctly
For glue:
- Add a small dot of glue to your natural nail.
- Add a tiny bit inside the press-on.
- Press at a slight angle near the cuticle.
- Hold firm for 20–30 seconds.
For tabs:
- Stick tab on your nail and smooth it down.
- Peel the top layer.
- Press the nail on and hold.
Don’t use too much glue. Glue floods look messy, and they can cause lifting.
Step 5: Seal and finish
File the edges, then apply top coat if needed. I usually add a thin top coat around the edges for extra security.
How to make fake nails with tips + glue (DIY custom set)
If you want more control, use nail tips and build your design from scratch. This method gives you the “custom salon set” vibe without the salon.
Step 1: Glue the tips on
Choose tips that match your nail width.
- Add glue to the tip well.
- Press onto the nail and hold.
- Clip length if needed.
- File the seam where the tip meets your nail.
Blend the seam gently. You want a smooth transition so it looks natural.
Step 2: Add strength with overlay
You can keep it simple or go full pro.
Options for overlay:
- Builder gel (strong and sleek)
- Acrylic (strongest, hardest to master)
- Polygel (middle ground, easier control)
If you want beginner-friendly strength, builder gel works beautifully.
How to make fake nails with builder gel (clean and sturdy)
Builder gel gives you that smooth, glossy salon finish. You need a lamp, but you also get stronger nails that don’t feel bulky.
Step 1: Apply a base coat and cure
Apply base coat and cure under your lamp. Keep it thin and clean.
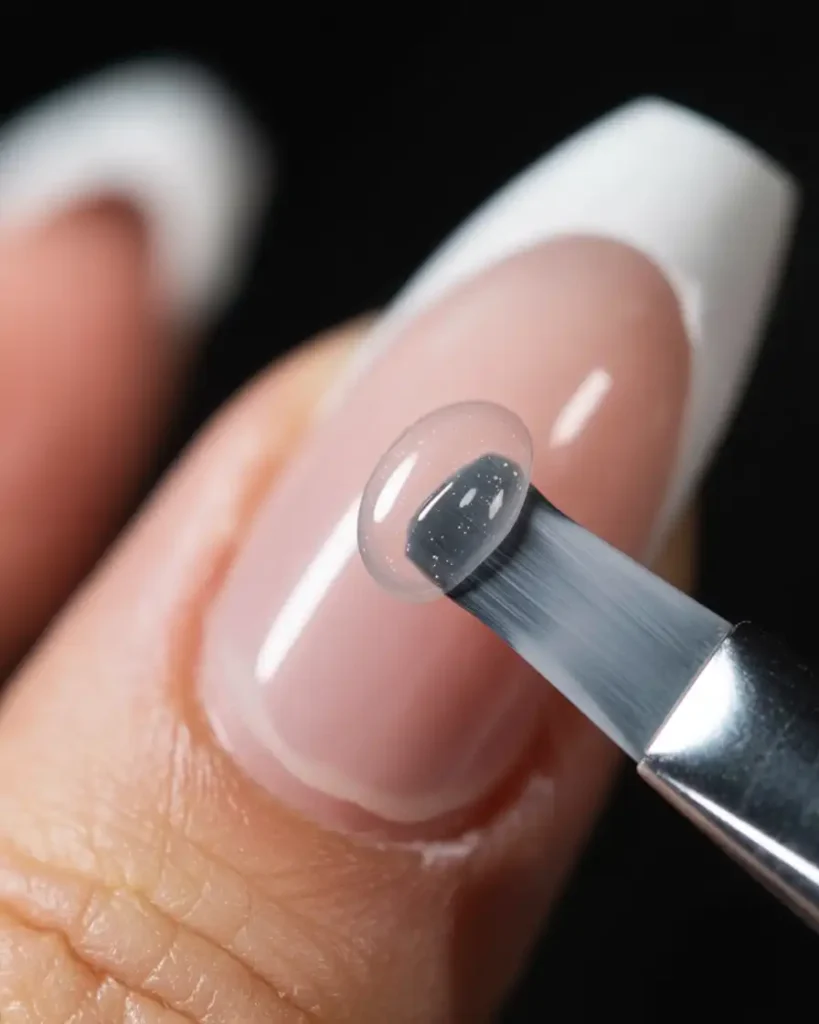
Step 2: Build an apex for strength
Add builder gel in the center of the nail to create a gentle apex.
- Keep it thin near the cuticle
- Build it slightly thicker in the middle
- Smooth toward the tip
Ever noticed how strong salon nails feel but still look slim? That apex does the heavy lifting.
Step 3: Cure, then refine
Cure fully, wipe any sticky layer if needed, then file and shape.
You should always file lightly. You shape the nail, not your soul.
Step 4: Add color and top coat
Apply gel polish if you want, then finish with gel top coat and cure.
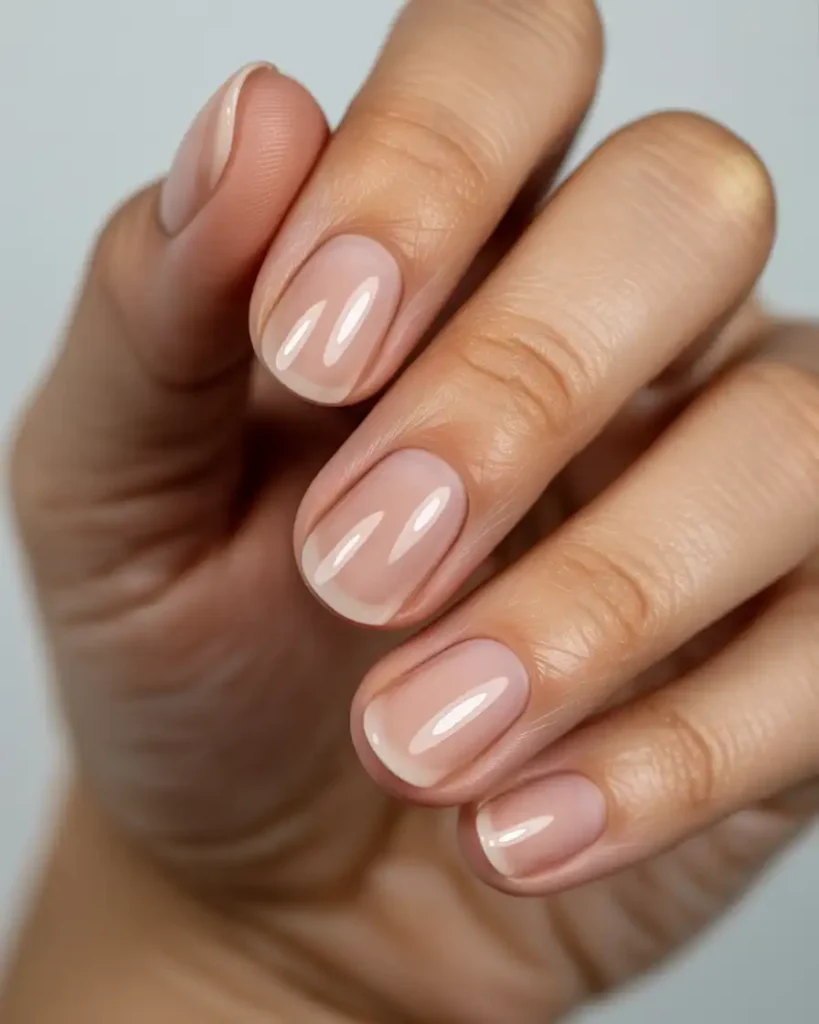
Make fake nails look natural (this is the secret sauce)
A lot of DIY fake nails fail because they look “stuck on.” You can fix that with tiny details.
Quick ways to make fake nails look salon-level
- Leave a tiny gap near the cuticle so it doesn’t flood
- File the cuticle edge slightly so it melts into the nail
- Match the shape to your hand (shorter nails look cleaner on beginners)
- Use a glossy top coat for instant polish
- Oil your cuticles after you finish for a fresh look
The cuticle area decides the realism. If it looks clean there, everything looks expensive.
Glue vs tabs vs gel: which one should you use?
Let’s compare honestly, because each option fits a different mood.
Nail glue
- Best for 5–14 days
- Strongest hold for press-ons
- Removal takes patience
Adhesive tabs
- Best for 1–3 days
- Great for commitment issues (no judgment)
- Water and heat weaken them quickly
Gel tip glue (UV gel)
- Best for 10–21 days
- Super secure
- Needs lamp and practice
If you want long wear, gel glue beats everything. If you want easy, tabs win.
Common fake nail mistakes (and how you fix them)
Everybody messes up at first. I messed up too, and I lived to tell the tale.
Mistake 1: Nails pop off fast
You likely skipped prep or touched the nail after cleaning.
Fix:
- Wipe nails again with alcohol
- Use dehydrator and primer
- Press longer during application
Mistake 2: Glue floods out the sides
You used too much glue because you panicked. Relatable.
Fix:
- Use less glue next time
- Clean excess immediately with a wooden stick
Mistake 3: Nails feel too thick
You stacked product without shaping.
Fix:
- File the surface lightly
- Focus on a thinner cuticle area
Mistake 4: Nails lift at the cuticle
You placed the nail too high or you got product on the skin.
Fix:
- Leave a tiny gap near the cuticle
- Keep everything off skin
How to make fake nails last longer (without living in fear)
You want your nails to stay on through handwashing, cooking, and texting like your life depends on it, right?
Do this:
- Apply cuticle oil daily
- Wear gloves for dishes and cleaning
- Avoid hot water for long periods
- Don’t use nails as tools (I know, I know)
- Press firmly during application
- Seal edges with top coat
Water weakens glue over time. If you soak your hands constantly, you’ll lose nails faster.
How to remove fake nails safely (please don’t rip them off)
Ripping nails off feels satisfying until your natural nails feel thin and sore. You deserve better.
Safe removal for press-ons with glue
- Soak nails in warm soapy water for 10–15 minutes
- Add cuticle oil around edges
- Gently lift with a wooden stick
- If it resists, soak longer
Safe removal for gel tips
- File the top layer
- Soak with acetone using cotton + foil
- Wait 15–20 minutes
- Push off softened product gently
If you feel resistance, you soak longer. You don’t force it. Your nails won’t forgive you.
Conclusion: you can totally make fake nails at home
You can make fake nails at home that look clean, last well, and don’t scream “DIY emergency.” You just need solid prep, the right adhesive choice, careful placement, and a little shaping. You also need patience for removal, because your natural nails matter too.
So what’s your vibe today, quick press-ons, long-wear gel tips, or a custom set you brag about to your friends? Either way, you’ve got this. And if one nail pops off, just act like it planned a solo career.

Olivia Tran is the founder and creative force behind TheNailDesigns.