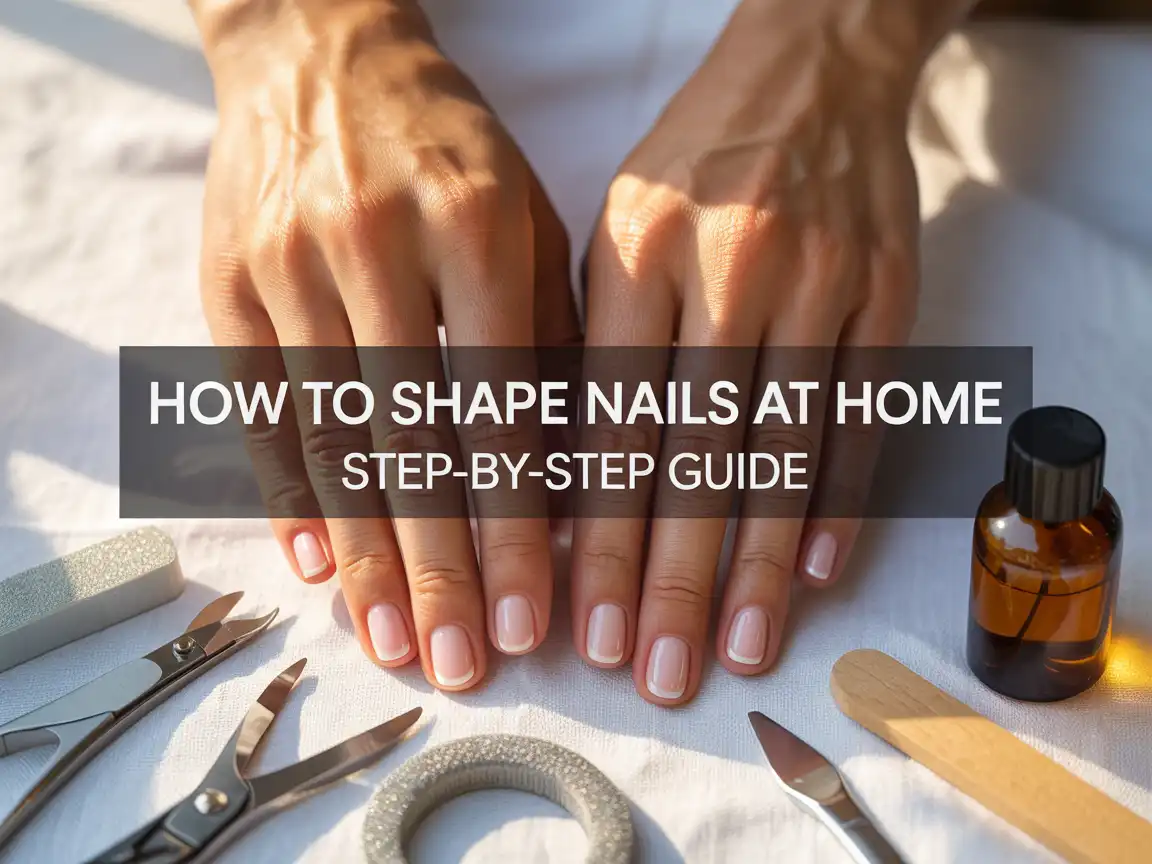
How to shape nails at home: Step by step Guide
You know that moment when you look at your nails and think, “Why do they look like they survived a tiny tornado?” Yeah… same. One nail looks oval, one looks square-ish, and the pinky does whatever it wants. If you want clean, salon style nails without paying salon style money, you’re in the right place.
I’m going to walk you through How to shape nails at home: Step by step Guide style, simple, doable, and not the kind of “guide” that makes you feel like you need a cosmetology degree. Ready to make your nails look instantly more put together? Let’s do it.
Get the right tools (because kitchen scissors don’t count)
If you try to shape nails with random tools, you’ll get random results. I learned that the hard way when I used a rough file and ended up with nails that snagged on everything. You want tools that give you control, not chaos.
Your at home nail shaping kit
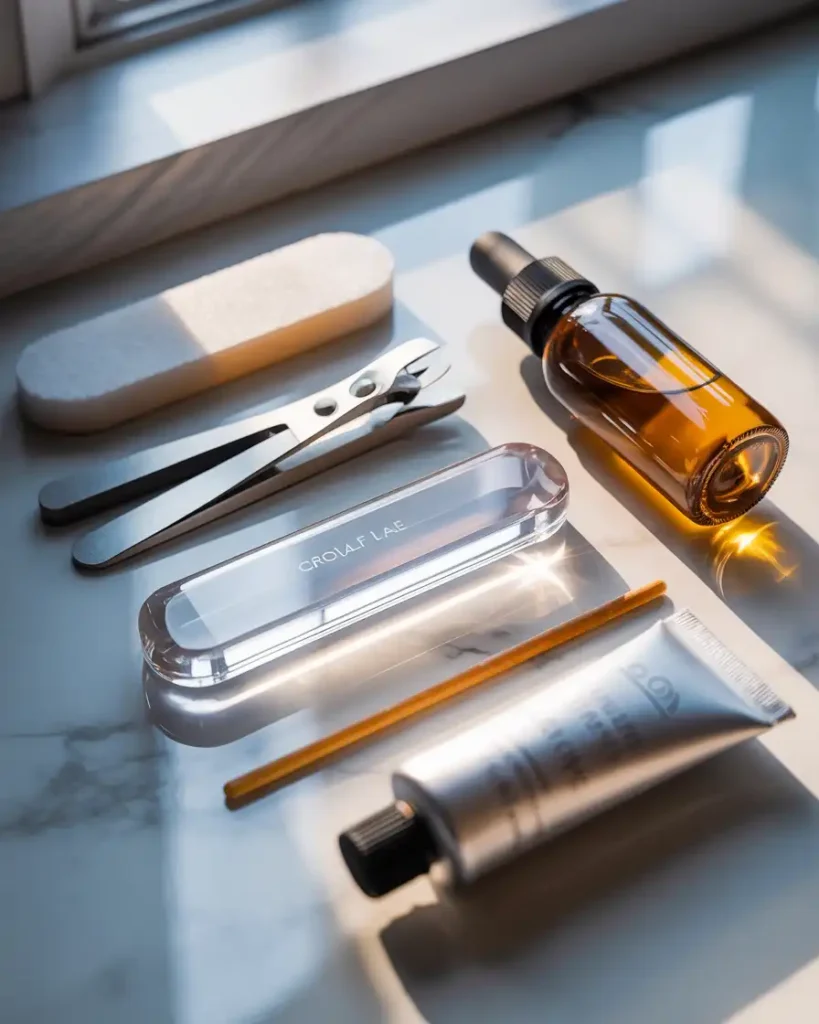
Grab these basics:
- Nail clippers (sharp ones, not the dull struggle kind)
- A nail file (glass file or fine grit emery board)
- A buffer block (optional, but nice)
- Cuticle pusher (wooden or metal)
- Cuticle oil or any nourishing oil
- Hand cream
A glass nail file makes shaping easier and gentler. I use it when I want smooth edges with less tearing.
Decide your nail shape before you start (or you’ll freestyle into regret)
You need a game plan. If you start filing without picking a shape, you’ll “fix” one nail into a whole new shape. Have you ever shaped one nail, hated it, then reshaped all the others to match? Welcome to the club.
Popular nail shapes you can do at home
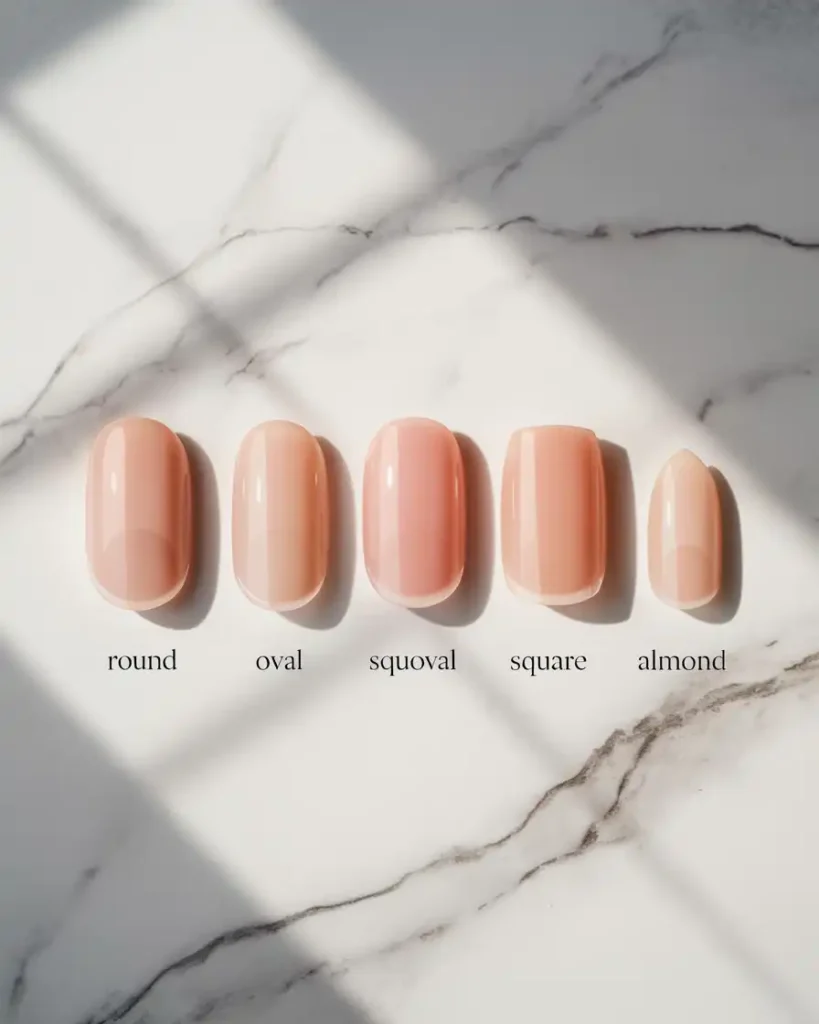
Here’s the quick breakdown:
- Round: easy, practical, and great for short nails
- Oval: elegant and less likely to snag
- Squoval: a square oval mix that suits almost everyone
- Square: crisp, but corners can break faster
- Almond: pretty, but you need some length to pull it off
IMO, squoval works best for most people because it looks neat and survives daily life. If you type a lot, do chores, or live in “I open boxes with my hands” mode, squoval saves you.
Prep your nails the right way (because prep equals clean shaping)
You can shape nails faster when you prep properly. I always start with clean nails because grime and polish leftovers mess with your file’s grip. You’ll also see your true nail length and edges more clearly.
Step-by-step nail prep
Do this before you touch a file:
- Remove old polish completely
- Wash and dry your hands (dry matters)
- Trim nails if you need to shorten them
- Push back cuticles gently after a warm wash
File dry nails, not soaked nails. Water makes nails softer, and softer nails tear more easily.
Step by step: How to shape nails at home without over-filing
This is the main event. You want symmetry, smooth edges, and a shape that looks intentional. You also want to avoid that “thin weak corners” situation that leads to breaks.
Step 1: Trim to a rough starting length
I trim first if my nails look uneven. Clippers help you reset length quickly, and you don’t have to spend 20 minutes filing down one overachiever nail.
Keep the trim conservative. You can always remove more later, but you can’t un-clip a nail.
Step 2: File the sides lightly to set the outline
I start on the sides because they define the shape. I file with gentle strokes and move in one direction. I stop when both sides look balanced.
Ask yourself: Do both sides mirror each other? If one side slopes more, fix that before shaping the tip.
Step 3: Shape the tip based on your chosen style
Now you shape the front edge. This step makes the nail look round, square, oval, or almond.
- For round, soften the corners and curve the edge
- For square, keep the tip flat and crisp
- For squoval, keep the tip slightly flat and soften corners
- For oval, curve the tip and keep the sides tapered
- For almond, taper the sides more and round the point gently
Small changes add up fast, so file slowly. Your nails don’t need aggressive sanding.
Step 4: Check symmetry from different angles
I hold my hand straight out and look down the nails. I also tilt my hand side to side to catch uneven edges.
This sounds extra, but it works. Ever wondered why salon nails look so clean? They always check symmetry.
Step 5: Smooth the edge to remove snags
After you shape, run the file lightly along the edge to smooth it. I also drag a fingertip across the tip to feel snags.
If you feel a snag, you will catch it on fabric later. Your sweater will not show mercy.
How to shape each nail style at home (quick mini guides)
Different shapes need different moves. You can use these mini guides to avoid guesswork.
Round nails at home
Round nails look natural and forgiving. You can keep them short and still look neat.
- File the sides straight for a tiny bit
- Soften both corners evenly
- Curve the front edge into a gentle arc
Round nails suit beginners because you can fix mistakes easily.
Squoval nails at home
Squoval gives you the clean look of square nails with fewer broken corners. I choose squoval when I want practical cute nails.
- Keep the tip mostly straight
- Round the corners slightly
- Keep both sidewalls balanced
Squoval nails look polished even without color. That’s why I love them.
Oval nails at home
Oval nails look elegant and make fingers look longer. You need a little length for the best effect.
- File the sides inward slightly
- Curve the tip smoothly
- Avoid sharp edges
Oval nails help reduce snagging because they don’t have harsh corners.
Square nails at home
Square nails look bold and clean. They also break more easily at corners, so you need strong nails or shorter length.
- Keep the tip flat and straight
- Keep the sides straight
- Keep corners crisp but not razor sharp
If you want square nails without pain, keep them shorter.
Almond nails at home
Almond nails look classy and trendy. They need length, and they need patience.
- Taper both sides evenly
- Shape the tip into a soft point
- Smooth the point so it looks rounded, not sharp
Almond nails look amazing, but they punish uneven filing. So go slow.
Common mistakes that ruin nail shaping at home (and how to fix them)
Everyone makes mistakes, especially early on. I still catch myself trying to “perfect” one nail until it becomes too thin. That urge feels real.
Mistake 1: You file too much from the sides
Sidewalls support nail strength. If you thin them too much, you get breakage.
Fix it like this:
- File the side lightly
- Focus more on the tip shape
- Stop when the nail looks balanced
Strong nails need structure.
Mistake 2: You keep changing your nail shape mid way
You start with squoval, then you drift toward oval, then you end up with “confused.” Pick one shape and commit for that session.
Fix it like this:
- Choose a reference nail (usually the middle finger)
- Match the others to it
- Keep the shape consistent across the hand
Mistake 3: You file back and forth aggressively
That rough sawing motion can fray nails, especially with cheap files. I file in one direction because it keeps edges smoother.
Fix it like this:
- Use gentle, controlled strokes
- File in one direction
- Upgrade your file if it shreds your nail edges
Mistake 4: You shape wet nails
Wet nails bend and tear more easily. Dry nails give you cleaner lines.
Fix it like this:
- Wash hands, then dry fully
- Wait a few minutes before filing
- Oil nails after shaping, not before
FYI, your nails love oil, but they hate being filed while soft.
Aftercare: keep your new shape from breaking in two days
You just shaped your nails. Now you need to protect the edges so they don’t snag and split. This part matters more than people think.
My simple aftercare routine
I do this right after shaping:
- Apply cuticle oil
- Massage it in for 20 seconds
- Apply hand cream
- Use a base coat or clear polish if I want extra protection
I treat polish like armor. Even clear polish helps prevent peeling and breakage.
Choosing the best nail shape for your lifestyle
This part saves you a lot of heartbreak. A shape might look gorgeous, but it might not survive your daily routine. Do you want pretty nails or do you want nails that live longer than 48 hours?
Quick guide: best shape by lifestyle
Pick based on what you do daily:
- You type a lot: squoval or oval
- You work with your hands: round or short squoval
- Your nails break easily: oval or round
- You want bold edges: short square
- You want glam length: almond or oval
The best nail shape is the one you can maintain without constant breaks.
FAQs people always ask about shaping nails at home
How often should you shape your nails at home?
I shape lightly once a week and do a full reshape every two weeks. That schedule keeps snags away without over filing. Your nails stay cleaner when you maintain edges regularly.
Should you cut or file nails into shape?
I trim first if I need a big length change, then I file for the final shape. Clippers give you speed, and files give you precision. You get the best results when you use both.
Can you shape nails without a buffer?
Yes, you can skip the buffer. A good file and a smooth edge do most of the work. Buffing just adds polish to the final look.
Conclusion: nail shaping at home gets easy when you slow down
You can absolutely master How to shape nails at home: Step by step Guide style without stress. You just need the right tools, a clear shape choice, and a slow approach. You trim, you file gently, you check symmetry, and you smooth edges so they don’t snag.
So what shape will you try first, squoval for practicality, oval for elegance, or almond for drama? Whatever you choose, promise me one thing: don’t file like you’re angry at your nails. Your sweater and your future self will appreciate it.

Olivia Tran is the founder and creative force behind TheNailDesigns.